Sourdough Bread
Sourdough Bread

Ingredients
- 100 grams active sourdough starter
- 350 grams warm water, around 30-35°C
- 500 grams bread flour
- 10 grams fine sea salt
- as needed rice flour, for dusting
Instructions
- 1
In a large mixing bowl, combine 350 grams of warm water with 500 grams of bread flour. Mix until just combined, ensuring no dry flour remains. Cover the bowl and let it rest for 30 minutes. This process is called autolyse and helps the flour absorb water and gluten to start developing.
⏱️ 30 min
- 2
After 30 minutes, add 100 grams of active sourdough starter to the dough. Mix thoroughly with your hands until the starter is fully incorporated into the dough. The dough will be sticky.
⏱️ 15 min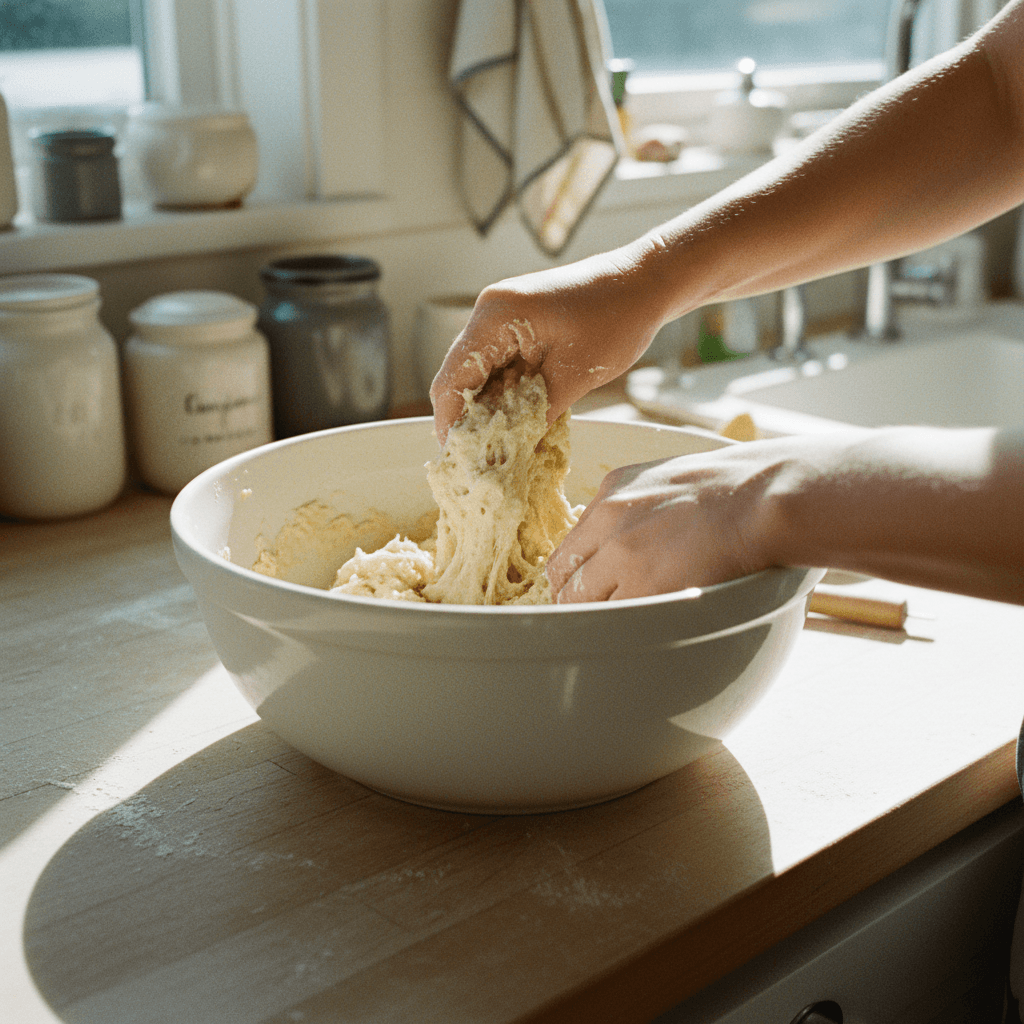
- 3
Sprinkle 10 grams of fine sea salt over the dough. Mix again, squeezing and folding the dough to distribute the salt evenly. Continue mixing for 2-3 minutes until the salt is fully absorbed.
⏱️ 15 min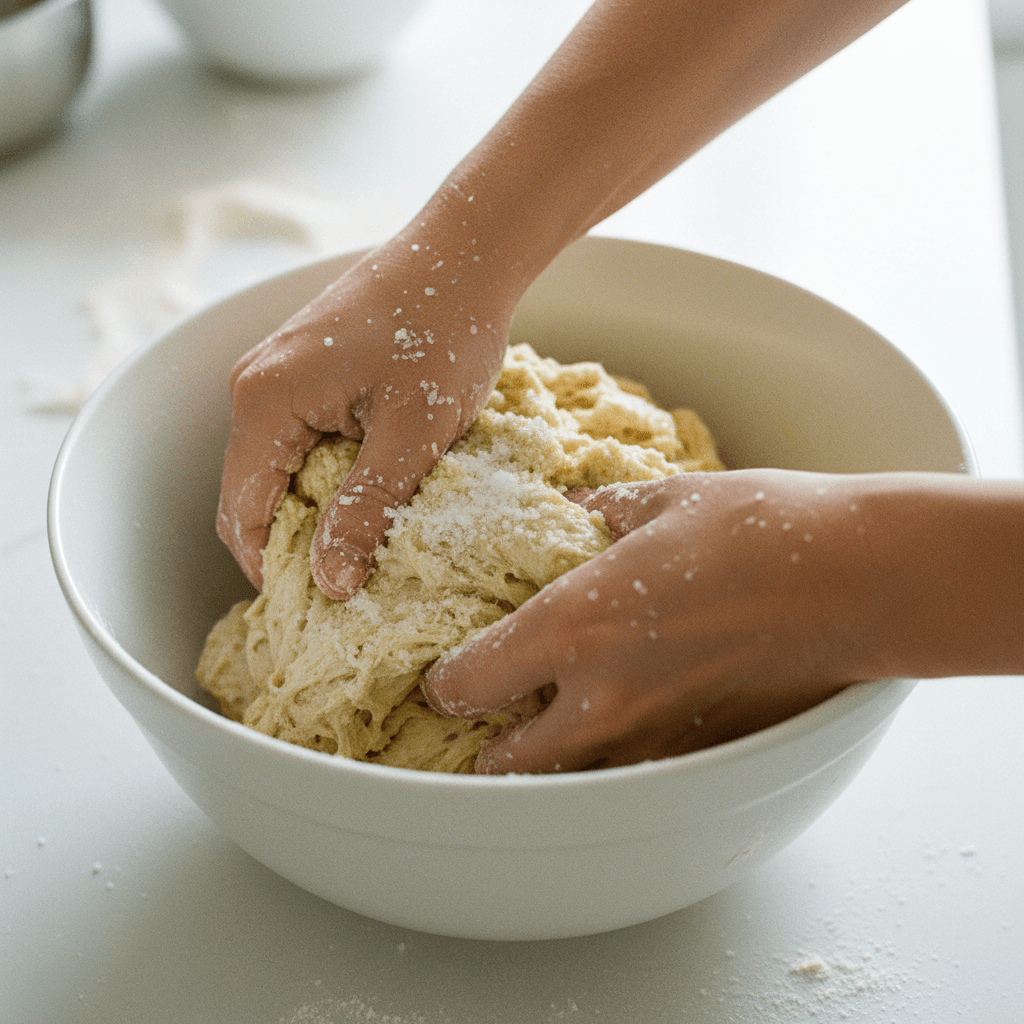
- 4
Wet your hands slightly. Grab a portion of the dough from one side, gently stretch it upwards, and fold it over itself towards the center of the bowl. Rotate the bowl and repeat this process 3-4 times until you've gone all the way around. This is the first "stretch and fold". Cover the bowl.
⏱️ 15 min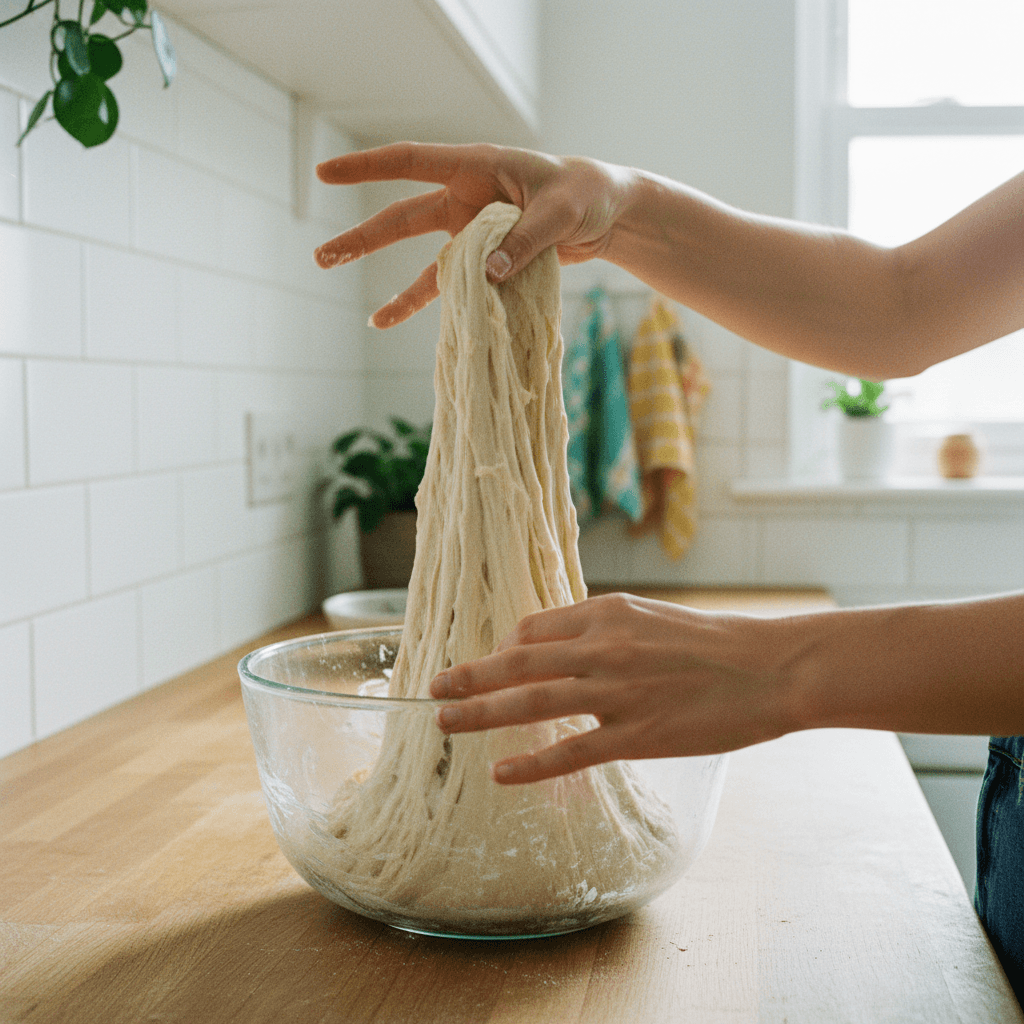
- 5
Let the dough rest for 30 minutes. Perform another set of stretch and folds (as described in step 4). Repeat this process for a total of 4 sets of stretch and folds, with 30-minute rest periods in between each set. The total time for this stage will be approximately 2 hours.
⏱️ 120 min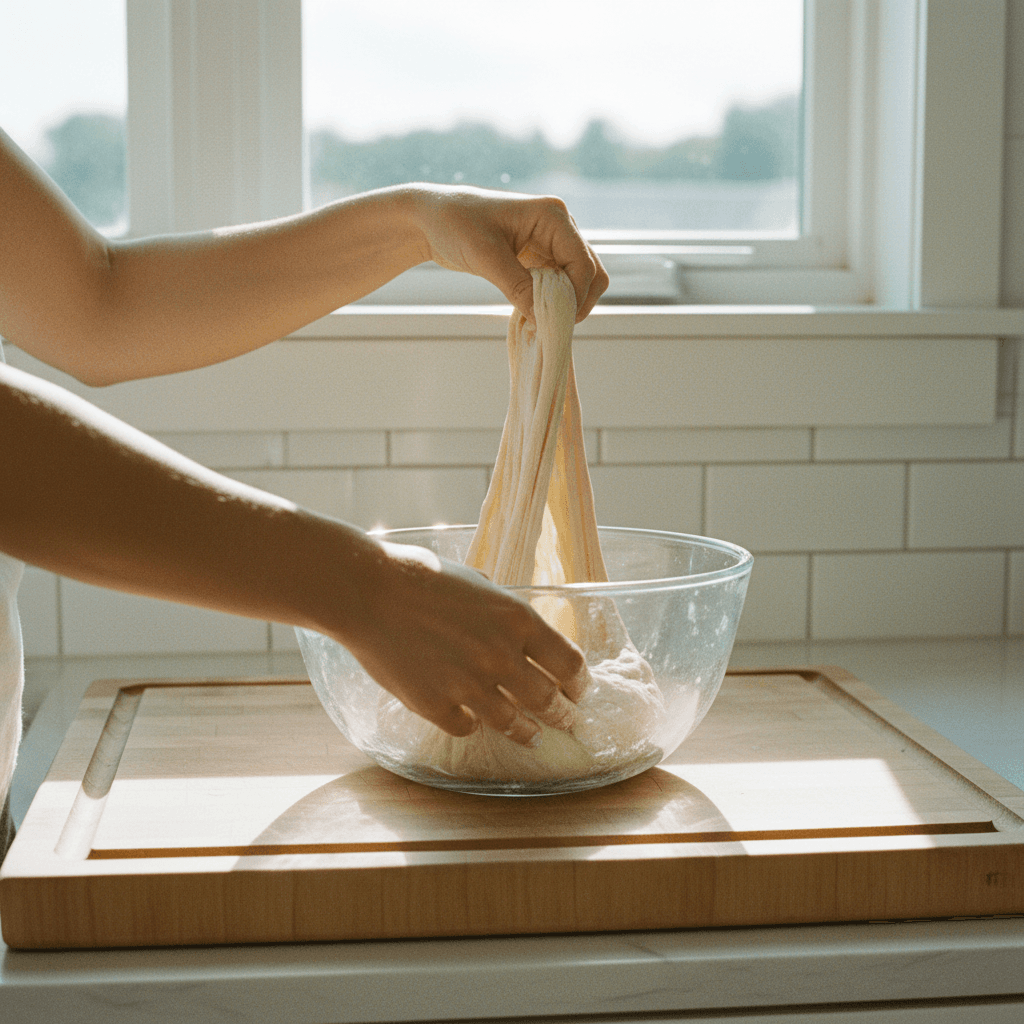
- 6
After the final set of stretch and folds, cover the bowl and let the dough bulk ferment at room temperature (ideally around 20-24°C) for another 2-4 hours, or until it has increased in volume by about 30-50% and appears bubbly and alive. The exact time depends on your room temperature and starter activity.
⏱️ 240 min
- 7
Gently turn the dough out onto a lightly floured surface. Using a dough scraper, gently shape the dough into a loose round or rectangle. Allow it to rest uncovered for 20-30 minutes. This helps relax the gluten.
⏱️ 30 min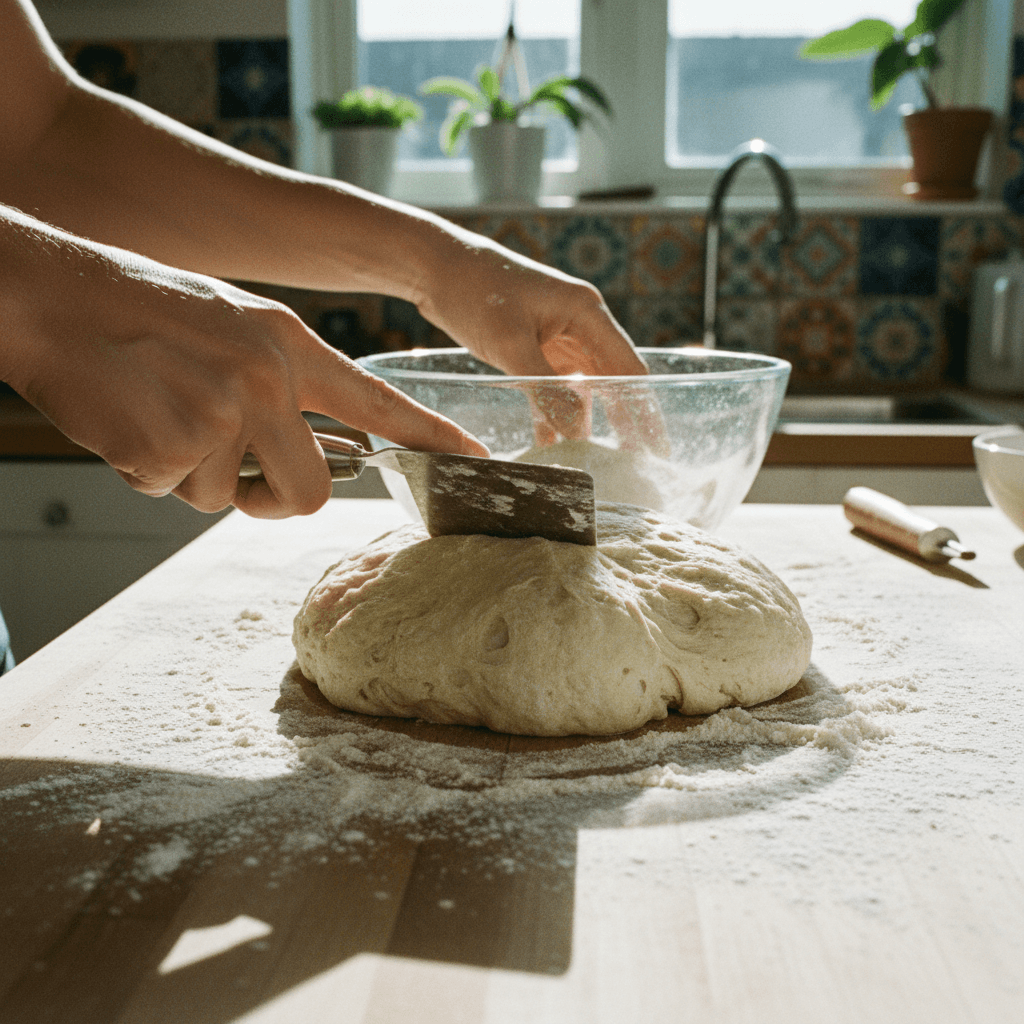
- 8
Lightly flour your hands and the work surface. Gently reshape the dough into a tighter round or oval shape, depending on your proofing basket. Use the dough scraper to create tension on the surface.
⏱️ 30 min
- 9
Lightly flour a proofing basket (banneton) with rice flour (to prevent sticking). Carefully transfer the shaped dough seam-side up into the basket. Cover the basket with a plastic bag or shower cap and place it in the refrigerator for 12-18 hours (or up to 24 hours). This cold proof develops flavor and makes the dough easier to handle.
⏱️ 1080 min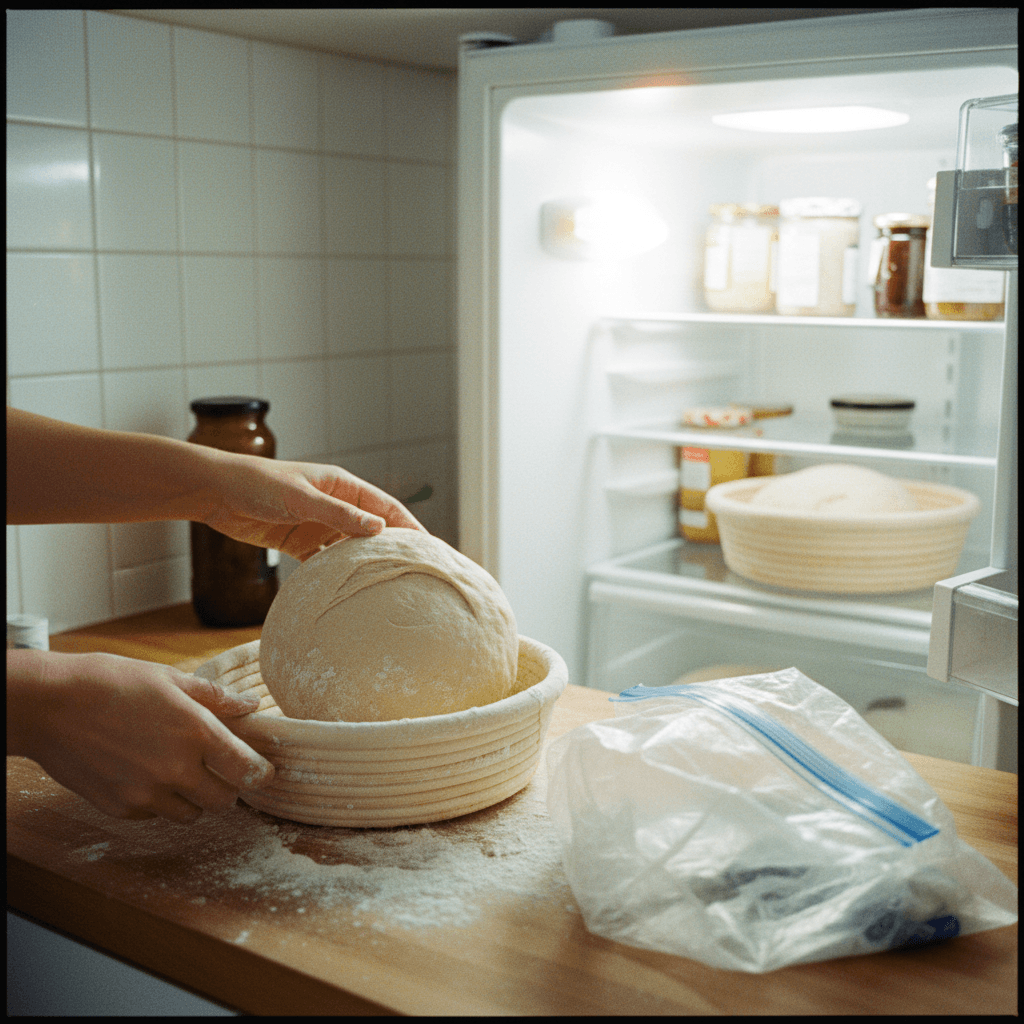
- 10
About 1 hour before you plan to bake, place your Dutch oven (or heavy-bottomed pot with lid) inside your oven. Preheat the oven to 230°C (450°F) with the Dutch oven inside.
⏱️ 60 min•🌡️ 230 - 11
Once the oven is preheated, carefully remove the hot Dutch oven. Gently invert the cold dough from the proofing basket onto a piece of parchment paper. Using a sharp razor blade or lame, score the top of the dough with a design of your choice (e.g., a single long slash, a cross, or a decorative pattern).
⏱️ 15 min
- 12
Carefully lift the parchment paper with the dough and lower it into the hot Dutch oven. Cover with the lid and bake for 30 minutes.
⏱️ 30 min•🌡️ 230
- 13
After 30 minutes, remove the lid from the Dutch oven. Continue baking for another 20-25 minutes, or until the crust is deeply golden brown and sounds hollow when tapped on the bottom.
⏱️ 25 min•🌡️ 230
- 14
Carefully remove the bread from the Dutch oven and transfer it to a wire rack. Let it cool completely for at least 1-2 hours before slicing. This is crucial for the internal structure and flavor to set properly.
⏱️ 120 min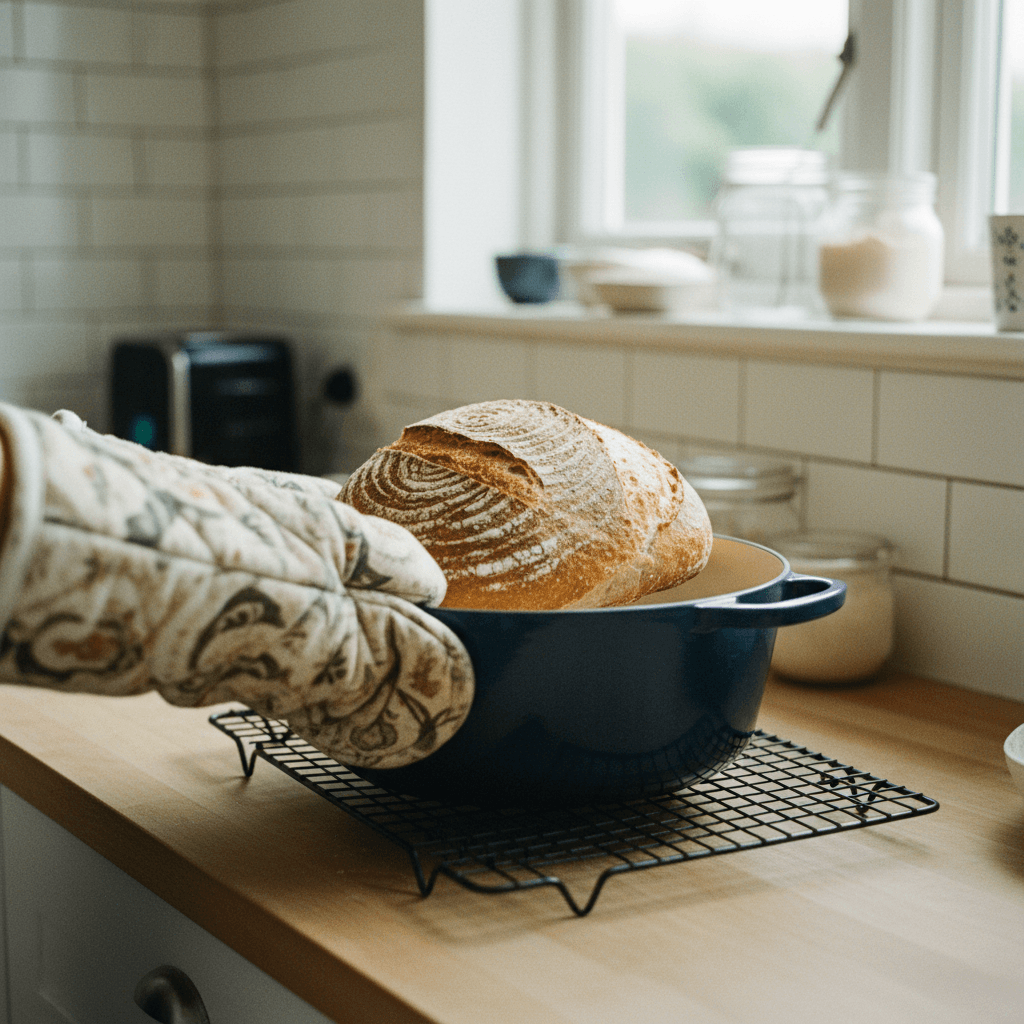
Kitchen Tools
Nutrition Facts (per serving)
Sourdough Bread
- 100 grams active sourdough starter
- 350 grams warm water, around 30-35°C
- 500 grams bread flour
- 10 grams fine sea salt
- as needed rice flour, for dusting
Instructions
- 1
In a large mixing bowl, combine 350 grams of warm water with 500 grams of bread flour. Mix until just combined, ensuring no dry flour remains. Cover the bowl and let it rest for 30 minutes. This process is called autolyse and helps the flour absorb water and gluten to start developing.
⏱️ 30 min - 2
After 30 minutes, add 100 grams of active sourdough starter to the dough. Mix thoroughly with your hands until the starter is fully incorporated into the dough. The dough will be sticky.
⏱️ 15 min - 3
Sprinkle 10 grams of fine sea salt over the dough. Mix again, squeezing and folding the dough to distribute the salt evenly. Continue mixing for 2-3 minutes until the salt is fully absorbed.
⏱️ 15 min - 4
Wet your hands slightly. Grab a portion of the dough from one side, gently stretch it upwards, and fold it over itself towards the center of the bowl. Rotate the bowl and repeat this process 3-4 times until you've gone all the way around. This is the first "stretch and fold". Cover the bowl.
⏱️ 15 min - 5
Let the dough rest for 30 minutes. Perform another set of stretch and folds (as described in step 4). Repeat this process for a total of 4 sets of stretch and folds, with 30-minute rest periods in between each set. The total time for this stage will be approximately 2 hours.
⏱️ 120 min - 6
After the final set of stretch and folds, cover the bowl and let the dough bulk ferment at room temperature (ideally around 20-24°C) for another 2-4 hours, or until it has increased in volume by about 30-50% and appears bubbly and alive. The exact time depends on your room temperature and starter activity.
⏱️ 240 min - 7
Gently turn the dough out onto a lightly floured surface. Using a dough scraper, gently shape the dough into a loose round or rectangle. Allow it to rest uncovered for 20-30 minutes. This helps relax the gluten.
⏱️ 30 min - 8
Lightly flour your hands and the work surface. Gently reshape the dough into a tighter round or oval shape, depending on your proofing basket. Use the dough scraper to create tension on the surface.
⏱️ 30 min - 9
Lightly flour a proofing basket (banneton) with rice flour (to prevent sticking). Carefully transfer the shaped dough seam-side up into the basket. Cover the basket with a plastic bag or shower cap and place it in the refrigerator for 12-18 hours (or up to 24 hours). This cold proof develops flavor and makes the dough easier to handle.
⏱️ 1080 min - 10
About 1 hour before you plan to bake, place your Dutch oven (or heavy-bottomed pot with lid) inside your oven. Preheat the oven to 230°C (450°F) with the Dutch oven inside.
⏱️ 60 min•🌡️ 230 - 11
Once the oven is preheated, carefully remove the hot Dutch oven. Gently invert the cold dough from the proofing basket onto a piece of parchment paper. Using a sharp razor blade or lame, score the top of the dough with a design of your choice (e.g., a single long slash, a cross, or a decorative pattern).
⏱️ 15 min - 12
Carefully lift the parchment paper with the dough and lower it into the hot Dutch oven. Cover with the lid and bake for 30 minutes.
⏱️ 30 min•🌡️ 230 - 13
After 30 minutes, remove the lid from the Dutch oven. Continue baking for another 20-25 minutes, or until the crust is deeply golden brown and sounds hollow when tapped on the bottom.
⏱️ 25 min•🌡️ 230 - 14
Carefully remove the bread from the Dutch oven and transfer it to a wire rack. Let it cool completely for at least 1-2 hours before slicing. This is crucial for the internal structure and flavor to set properly.
⏱️ 120 min