Simple Sourdough Starter Recipe
Simple Sourdough Starter Recipe
Ingredients
- 60 grams unbleached all-purpose flour
- 60 grams warm water, (about 75-80°F)
Instructions
- 1
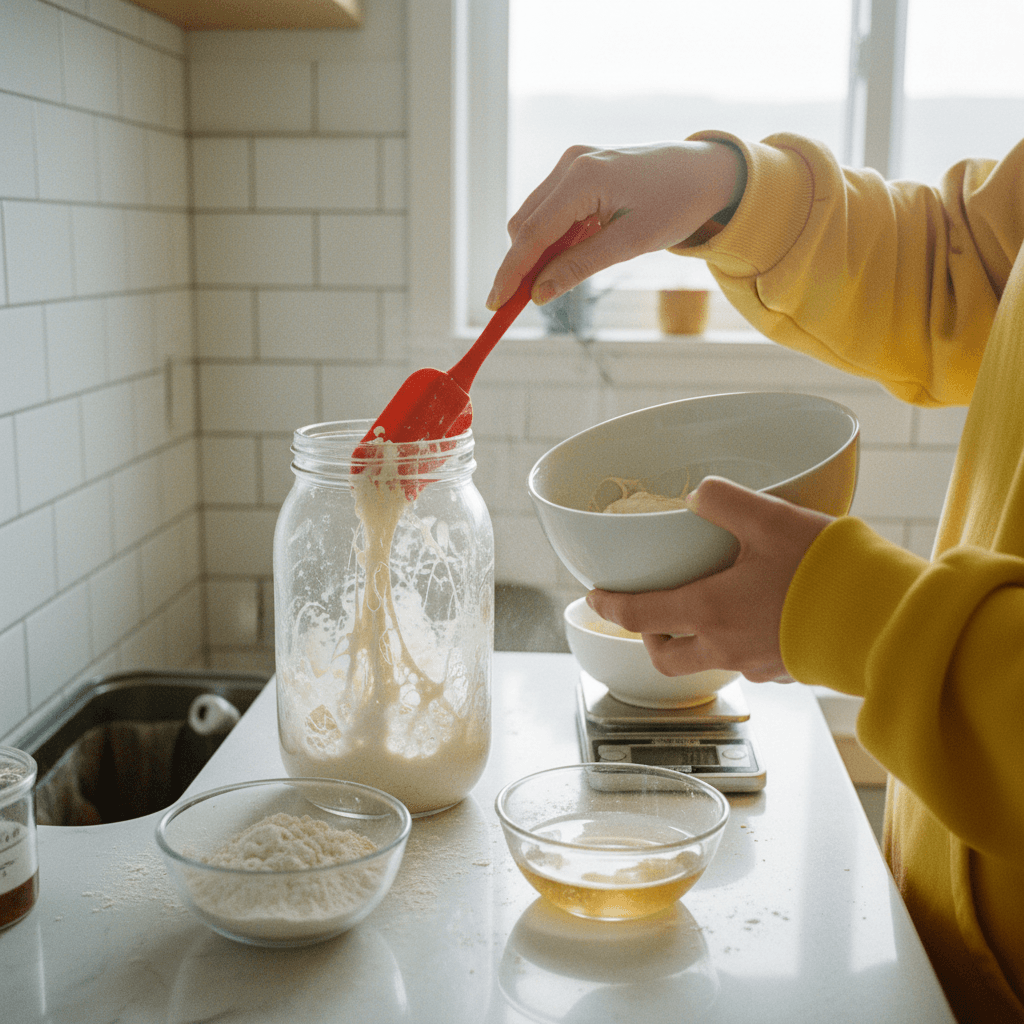
Day 1: In a clean 1-quart glass jar or container, combine 60 grams unbleached all-purpose flour and 60 grams warm water. Mix thoroughly with a rubber spatula until no dry lumps remain. The consistency should be like a thick batter. Scrape down the sides of the jar. Loosely cover the jar with a lid, plastic wrap, or a clean kitchen towel. Place the jar in a warm spot (70-75°F is ideal) for 24 hours.
⏱️ 5 min
- 2
Day 2: You might see a few small bubbles or no activity at all. Don't worry! Discard about half of the starter (approximately 60 grams). Add 60 grams unbleached all-purpose flour and 60 grams warm water to the remaining starter. Mix well, scrape down the sides, cover loosely, and return to the warm spot for another 24 hours.
⏱️ 2 min
- 3
Day 3: You should start to see more activity today – more bubbles, and a slight increase in volume. Repeat the feeding process: discard half of the starter, add 60 grams unbleached all-purpose flour and 60 grams warm water. Mix, cover, and let sit for 24 hours.
⏱️ 2 min
- 4
Day 4-7: By now, your starter should be consistently bubbly and showing signs of rising and falling. It should also have a pleasant, slightly sour, yeasty aroma. Continue the feeding process once every 24 hours: discard half, add 60 grams flour and 60 grams warm water. If your kitchen is particularly warm, you might need to feed twice a day (every 12 hours). Look for the starter to double in size within 4-8 hours after feeding, and then slowly fall back down. Once it consistently doubles in size, it's ready to use.
⏱️ 1 min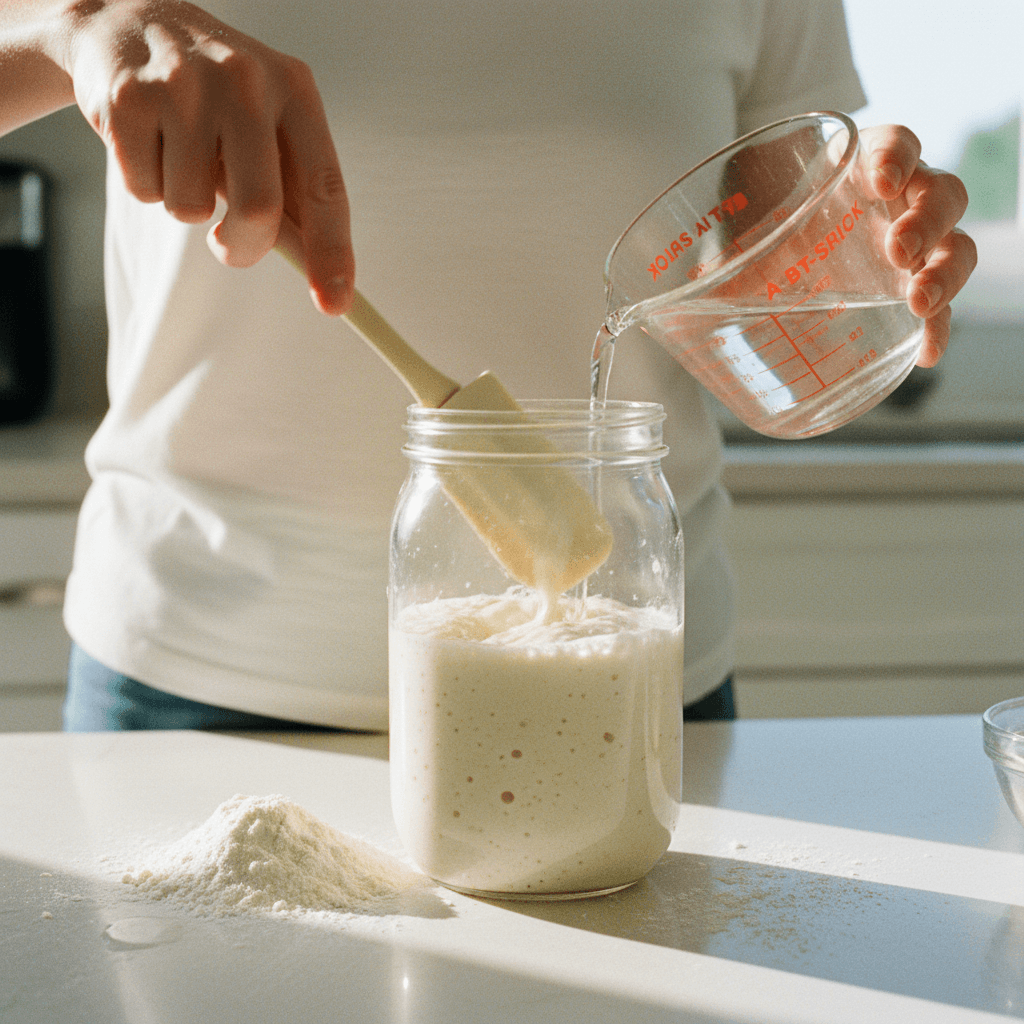
- 5
Maintenance: Once your starter is active and mature, you can store it in the refrigerator. Feed it once a week: take it out, let it come to room temperature for an hour, discard half, feed with 60 grams flour and 60 grams warm water, let it sit at room temperature for 2-4 hours until bubbly, then return it to the fridge. If you plan to bake frequently, you can keep it on the counter and feed it daily.
Kitchen Tools
Simple Sourdough Starter Recipe
- 60 grams unbleached all-purpose flour
- 60 grams warm water, (about 75-80°F)
Instructions
- 1
Day 1: In a clean 1-quart glass jar or container, combine 60 grams unbleached all-purpose flour and 60 grams warm water. Mix thoroughly with a rubber spatula until no dry lumps remain. The consistency should be like a thick batter. Scrape down the sides of the jar. Loosely cover the jar with a lid, plastic wrap, or a clean kitchen towel. Place the jar in a warm spot (70-75°F is ideal) for 24 hours.
⏱️ 5 min - 2
Day 2: You might see a few small bubbles or no activity at all. Don't worry! Discard about half of the starter (approximately 60 grams). Add 60 grams unbleached all-purpose flour and 60 grams warm water to the remaining starter. Mix well, scrape down the sides, cover loosely, and return to the warm spot for another 24 hours.
⏱️ 2 min - 3
Day 3: You should start to see more activity today – more bubbles, and a slight increase in volume. Repeat the feeding process: discard half of the starter, add 60 grams unbleached all-purpose flour and 60 grams warm water. Mix, cover, and let sit for 24 hours.
⏱️ 2 min - 4
Day 4-7: By now, your starter should be consistently bubbly and showing signs of rising and falling. It should also have a pleasant, slightly sour, yeasty aroma. Continue the feeding process once every 24 hours: discard half, add 60 grams flour and 60 grams warm water. If your kitchen is particularly warm, you might need to feed twice a day (every 12 hours). Look for the starter to double in size within 4-8 hours after feeding, and then slowly fall back down. Once it consistently doubles in size, it's ready to use.
⏱️ 1 min - 5
Maintenance: Once your starter is active and mature, you can store it in the refrigerator. Feed it once a week: take it out, let it come to room temperature for an hour, discard half, feed with 60 grams flour and 60 grams warm water, let it sit at room temperature for 2-4 hours until bubbly, then return it to the fridge. If you plan to bake frequently, you can keep it on the counter and feed it daily.