Hassle-Free Sourdough Loaf
Hassle-Free Sourdough Loaf

Ingredients
For the Sourdough Loaf
- 100 g active sourdough starter, bubbly and fed the night before
- 350 ml water
- 500 g strong bread flour
- 10 g fine sea salt
For Feeding the Starter (Night Before)
- 50 g sourdough starter, from the fridge
- 100 g strong bread flour, or adjusted based on kitchen temperature
- 100 ml water, or adjusted based on kitchen temperature
Instructions
- 1
The night before you plan to bake, take your sourdough starter from the fridge. Transfer 50 g of your starter into a new, clean jar. Adjust the feeding ratio based on your kitchen temperature: for a cold kitchen (below 18°C), use a 1:2:2 ratio (50 g starter, 100 g flour, 100 ml water); for a warm kitchen (18-24°C), use a 1:3:3 or 1:4:4 ratio (e.g., 50 g starter, 150-200 g flour, 150-200 ml water); for a hot kitchen (above 24°C), use a 1:5:5 to 1:8:8 ratio (e.g., 50 g starter, 250-400 g flour, 250-400 ml water). Ensure you feed enough to have 100 g for your loaf plus an extra 30-50 g leftover for next time. Mix well until no dry spots remain.
⏱️ 5 min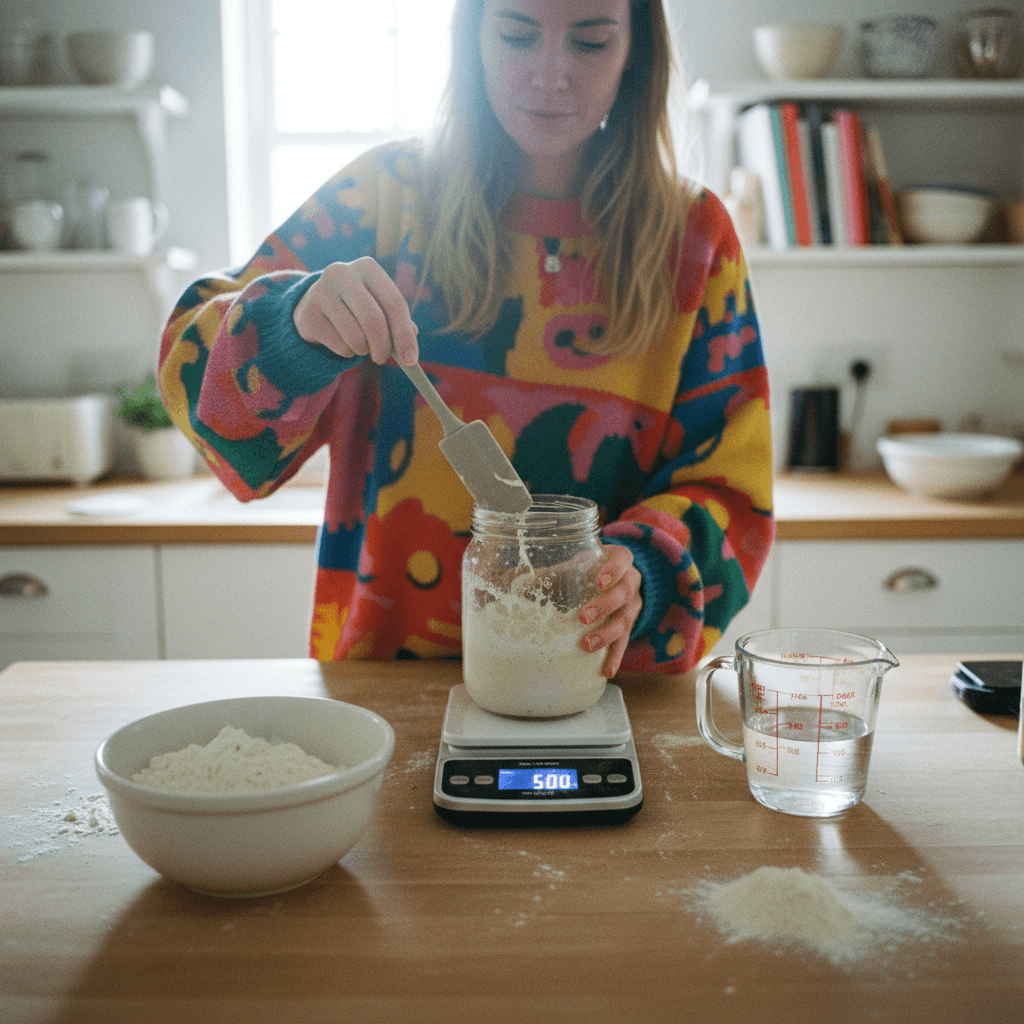
- 2
Discard any remaining starter in the original jar. Cover the freshly fed starter loosely and leave it at room temperature overnight (approximately 8-12 hours). By the next morning, it should be beautifully bubbly and active, ready for use.
⏱️ 720 min
- 3
The next morning, in a large mixing bowl, combine the 100 g of bubbly active sourdough starter, 350 ml water, 500 g strong bread flour, and 10 g fine sea salt. Mix all ingredients by hand until thoroughly combined and no dry flour remains. The dough will be shaggy.
⏱️ 10 min
- 4
Cover the mixing bowl with a lid or plastic wrap and let the dough rest for 30 minutes.
⏱️ 30 min
- 5
Perform the first round of stretch and folds. With wet hands, gently grab a portion of the dough from one side, stretch it upwards, and fold it over to the opposite side of the bowl. Rotate the bowl a quarter turn and repeat this process 3-4 more times until you've worked your way around the dough. Cover and rest for 30 minutes.
⏱️ 5 min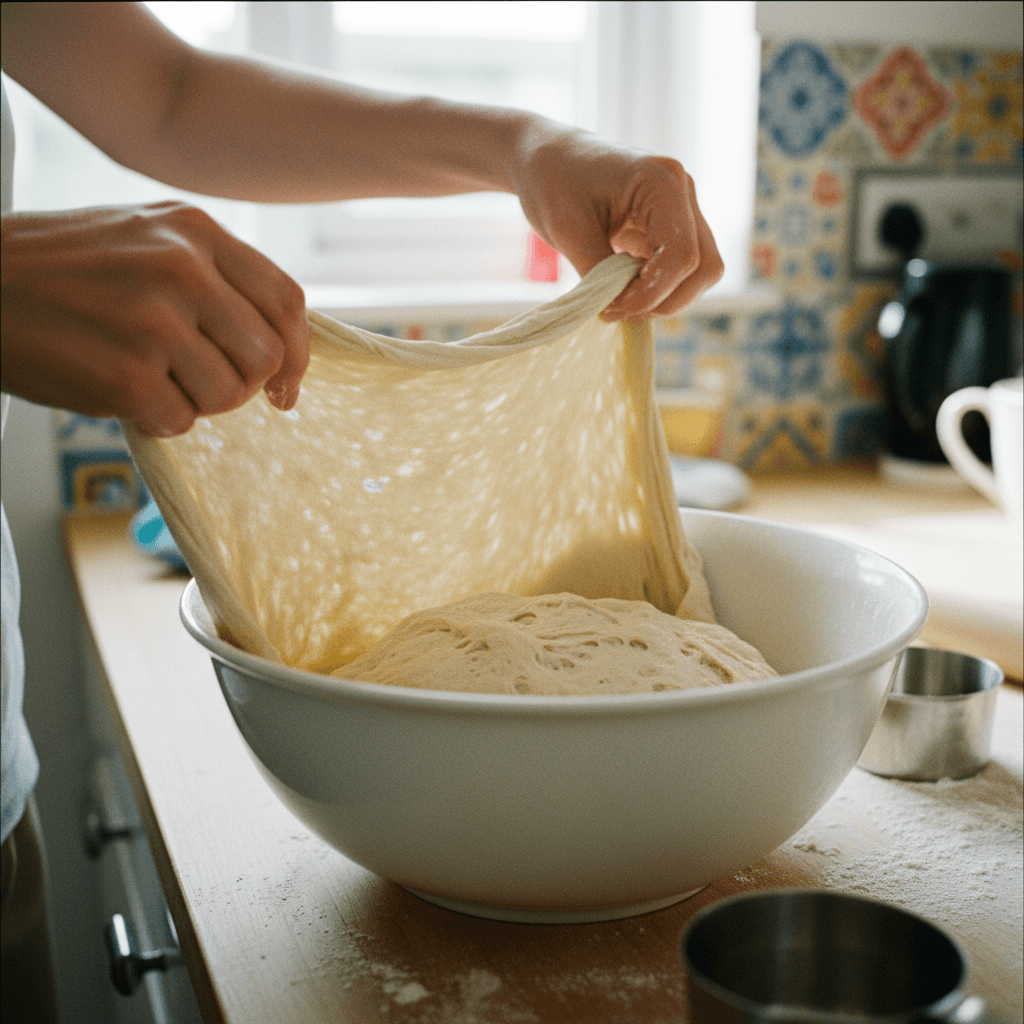
- 6
Repeat the stretch and fold process (Step 5) two more times, with 30-minute rests in between each set. This will develop the dough's strength and elasticity.
⏱️ 70 min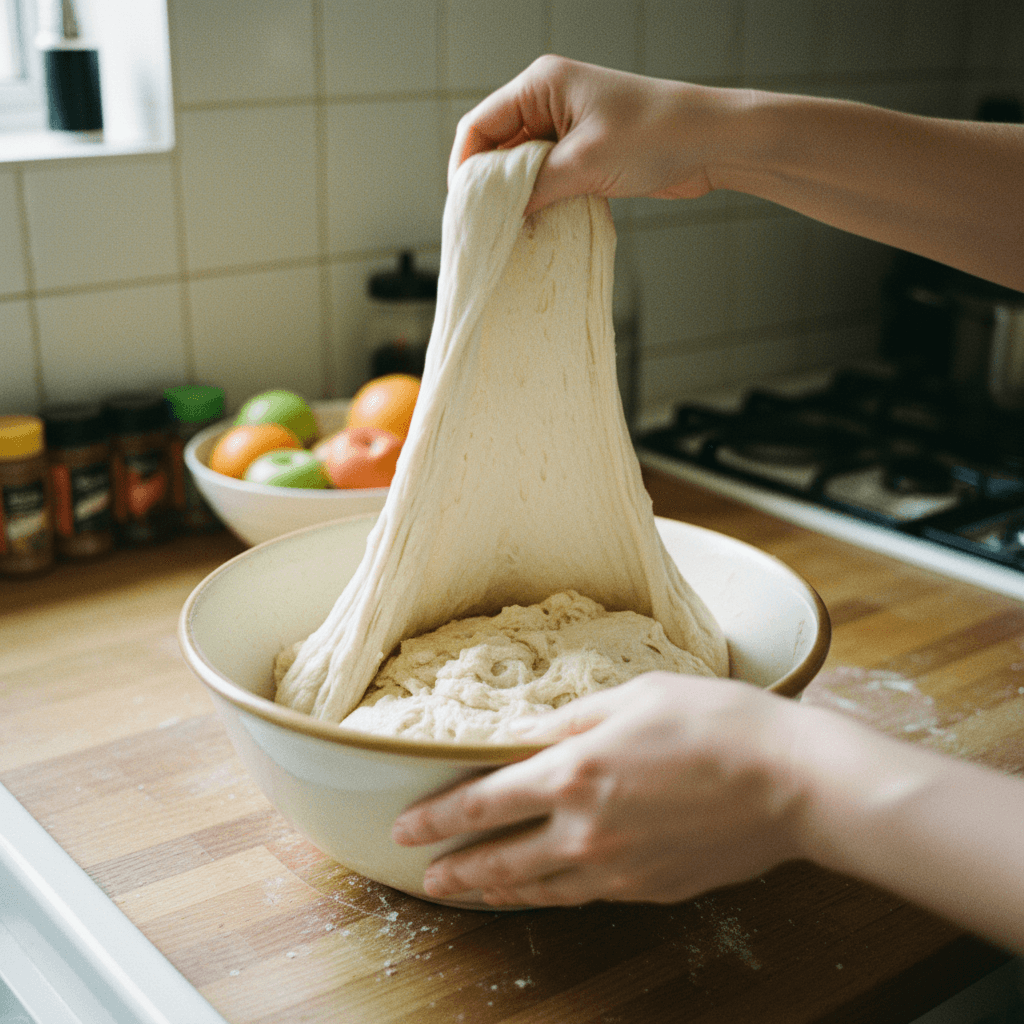
- 7
After the final stretch and fold, cover the dough and let it rest for a further 1-2 hours at room temperature, or until it has increased slightly in volume and feels airy.
⏱️ 90 min
- 8
Gently turn the dough out onto a lightly floured clean work surface. Carefully preshape the dough into a round (boule) by gently cupping your hands around it and rotating it to create surface tension.
⏱️ 5 min
- 9
Lightly flour a proofing basket (banneton). Transfer the preshaped dough, seam-side up, into the prepared banneton. Cover the banneton with a plastic bag or lid and transfer it to the fridge for cold proofing overnight (approximately 10-14 hours).
⏱️ 660 min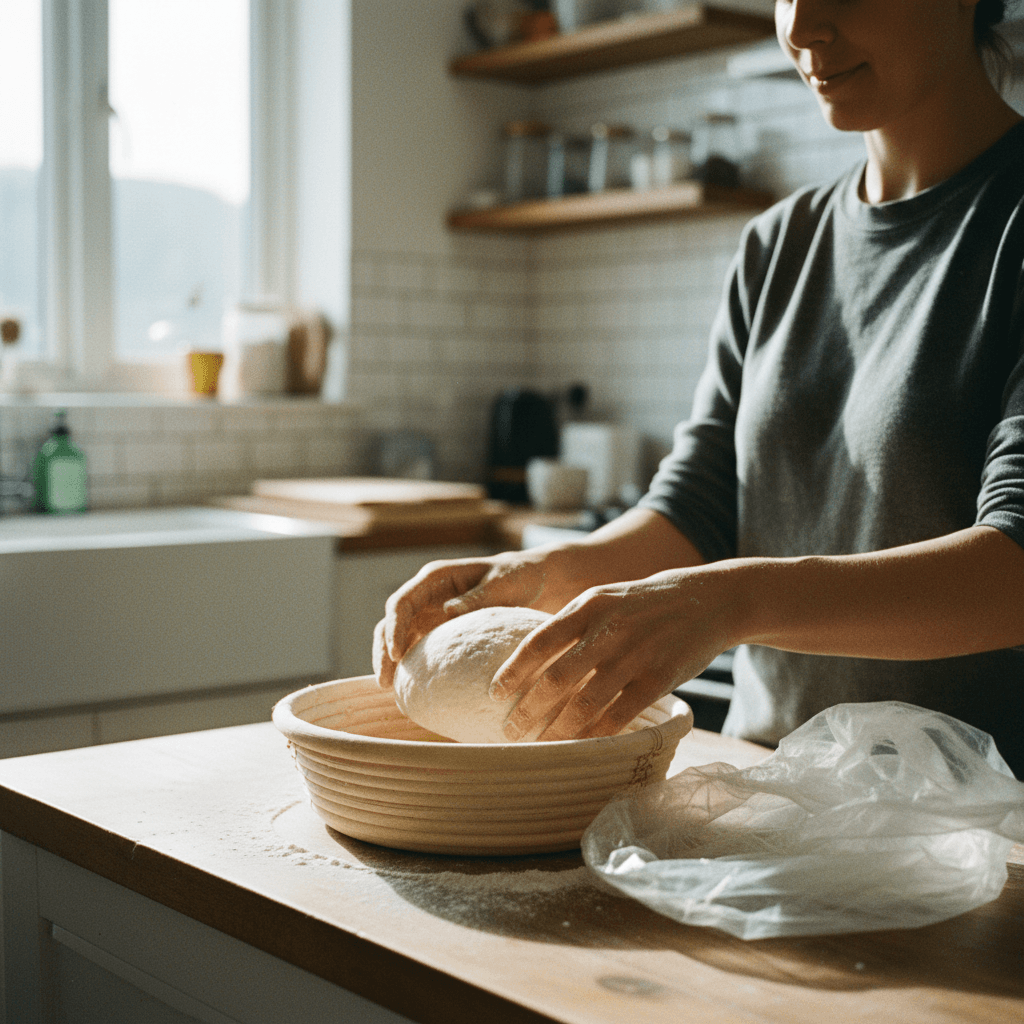
- 10
The next day, about 45-60 minutes before you plan to bake, preheat your oven to 230°C (450°F) with a Dutch oven (with its lid on) inside. Allow the Dutch oven to get very hot.
⏱️ 45 min•🌡️ 230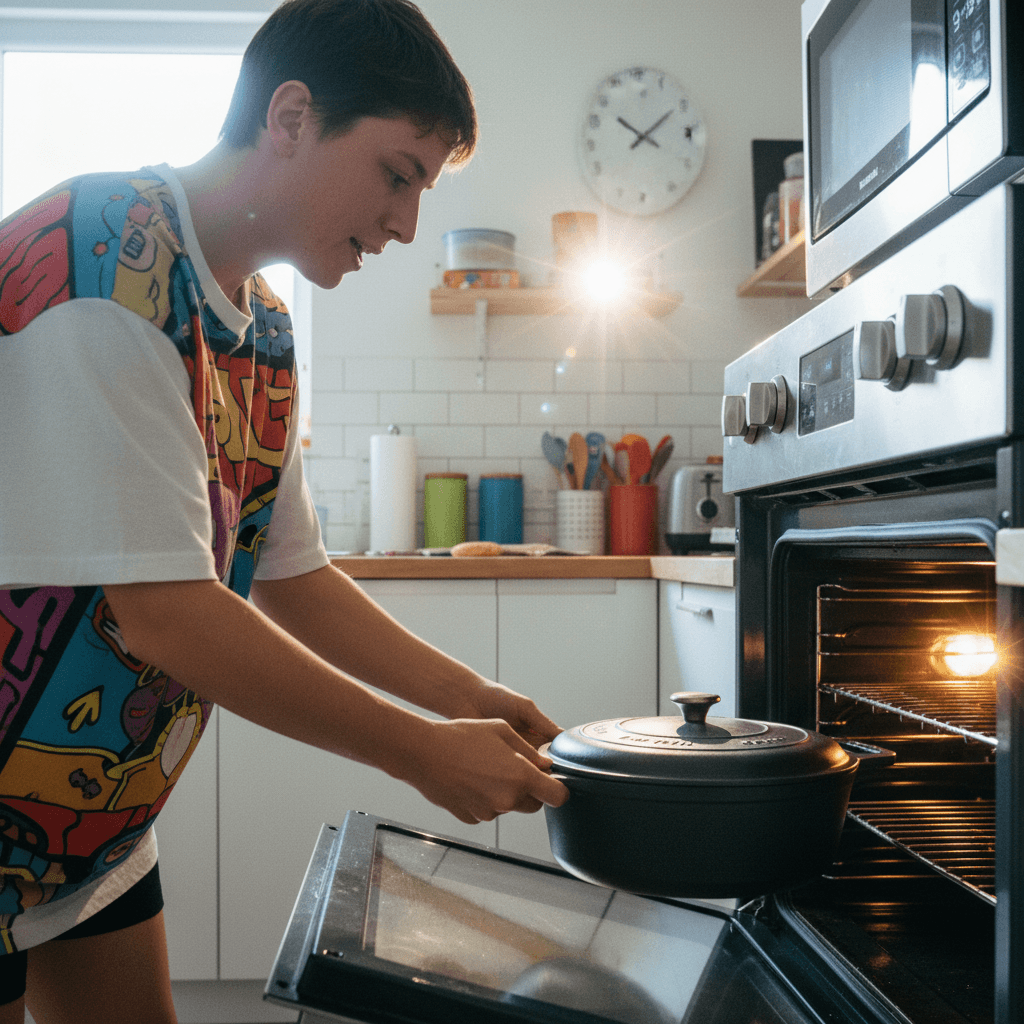
- 11
Carefully take the cold dough out of the fridge. Gently turn the dough out onto a piece of parchment paper.
⏱️ 2 min
- 12
Using a sharp blade or lame, score the top surface of the dough with your desired pattern. A single deep slash or a geometric design works well.
⏱️ 2 min
- 13
Carefully lift the dough along with the parchment paper and transfer it into the preheated hot Dutch oven. Place the lid back on the Dutch oven.
⏱️ 1 min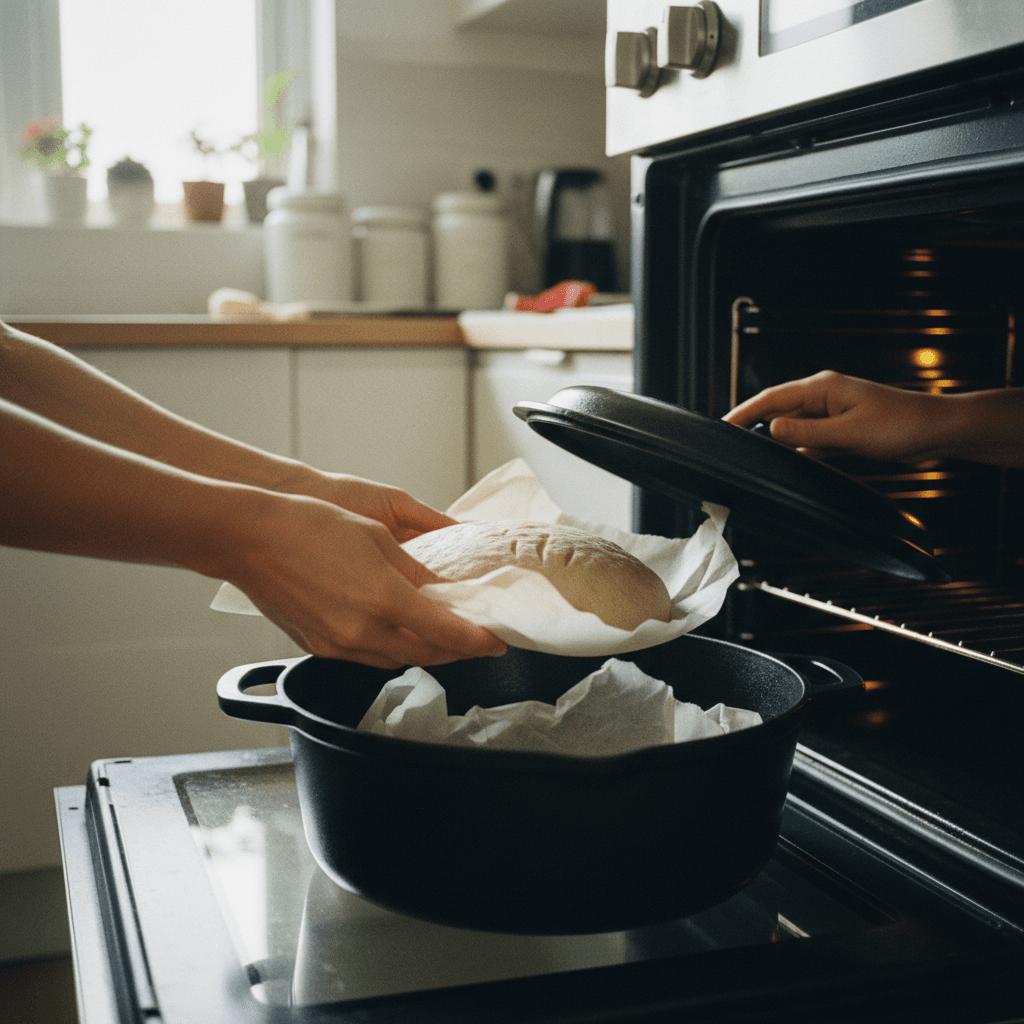
- 14
Bake with the lid on for 25 minutes.
⏱️ 25 min•🌡️ 230
- 15
Remove the lid from the Dutch oven. Continue baking for another 20-25 minutes, or until the bread develops a deep golden-brown, crispy crust.
⏱️ 25 min•🌡️ 230
- 16
Once baked, carefully remove the bread from the Dutch oven and transfer it to a wire rack to cool completely before slicing and serving. This is crucial for the crumb to set.
⏱️ 180 min
- 17
Take the portion of freshly fed starter (30-50 g) that was reserved from Step 1 and place it directly back into the fridge. It will remain active and healthy for another week without needing another feed until its next use.
⏱️ 1 min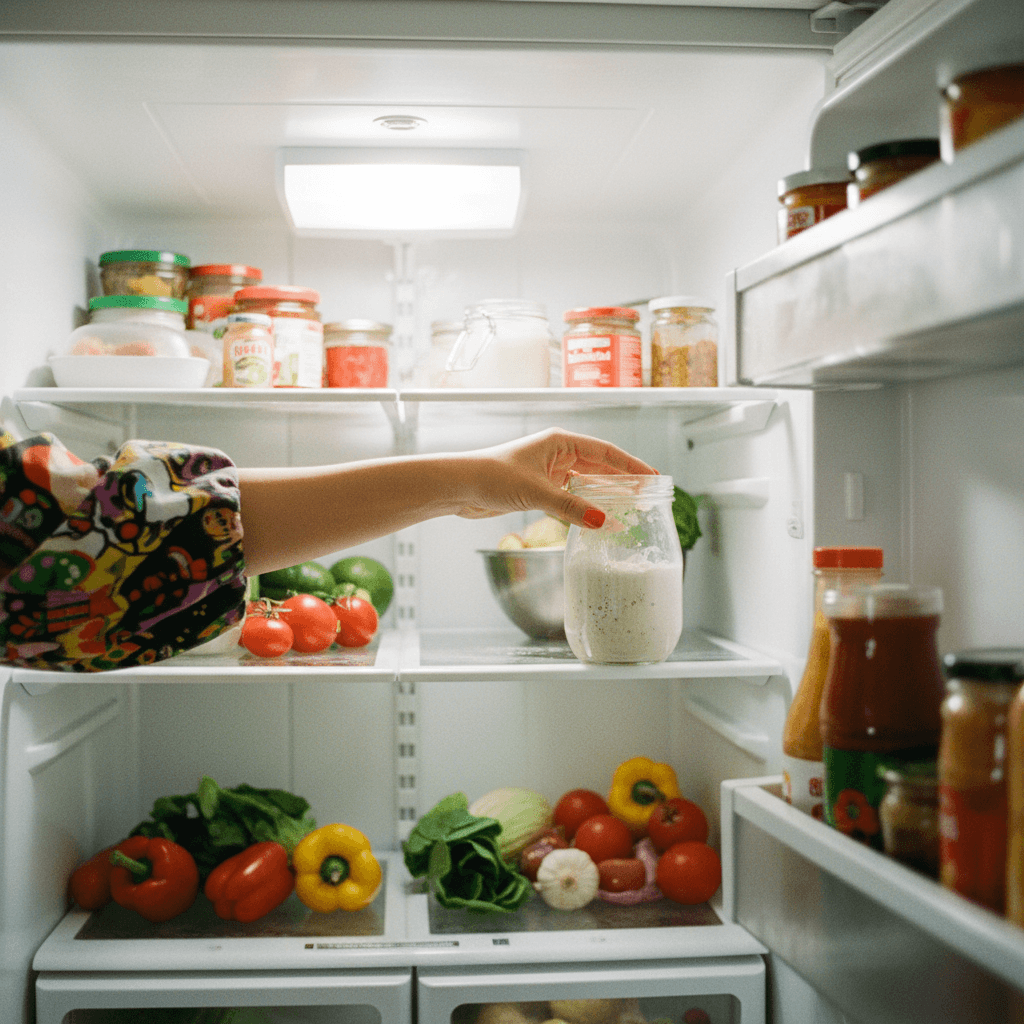
Kitchen Tools
Nutrition Facts (per serving)
Hassle-Free Sourdough Loaf
For the Sourdough Loaf
- 100 g active sourdough starter, bubbly and fed the night before
- 350 ml water
- 500 g strong bread flour
- 10 g fine sea salt
For Feeding the Starter (Night Before)
- 50 g sourdough starter, from the fridge
- 100 g strong bread flour, or adjusted based on kitchen temperature
- 100 ml water, or adjusted based on kitchen temperature
Instructions
- 1
The night before you plan to bake, take your sourdough starter from the fridge. Transfer 50 g of your starter into a new, clean jar. Adjust the feeding ratio based on your kitchen temperature: for a cold kitchen (below 18°C), use a 1:2:2 ratio (50 g starter, 100 g flour, 100 ml water); for a warm kitchen (18-24°C), use a 1:3:3 or 1:4:4 ratio (e.g., 50 g starter, 150-200 g flour, 150-200 ml water); for a hot kitchen (above 24°C), use a 1:5:5 to 1:8:8 ratio (e.g., 50 g starter, 250-400 g flour, 250-400 ml water). Ensure you feed enough to have 100 g for your loaf plus an extra 30-50 g leftover for next time. Mix well until no dry spots remain.
⏱️ 5 min - 2
Discard any remaining starter in the original jar. Cover the freshly fed starter loosely and leave it at room temperature overnight (approximately 8-12 hours). By the next morning, it should be beautifully bubbly and active, ready for use.
⏱️ 720 min - 3
The next morning, in a large mixing bowl, combine the 100 g of bubbly active sourdough starter, 350 ml water, 500 g strong bread flour, and 10 g fine sea salt. Mix all ingredients by hand until thoroughly combined and no dry flour remains. The dough will be shaggy.
⏱️ 10 min - 4
Cover the mixing bowl with a lid or plastic wrap and let the dough rest for 30 minutes.
⏱️ 30 min - 5
Perform the first round of stretch and folds. With wet hands, gently grab a portion of the dough from one side, stretch it upwards, and fold it over to the opposite side of the bowl. Rotate the bowl a quarter turn and repeat this process 3-4 more times until you've worked your way around the dough. Cover and rest for 30 minutes.
⏱️ 5 min - 6
Repeat the stretch and fold process (Step 5) two more times, with 30-minute rests in between each set. This will develop the dough's strength and elasticity.
⏱️ 70 min - 7
After the final stretch and fold, cover the dough and let it rest for a further 1-2 hours at room temperature, or until it has increased slightly in volume and feels airy.
⏱️ 90 min - 8
Gently turn the dough out onto a lightly floured clean work surface. Carefully preshape the dough into a round (boule) by gently cupping your hands around it and rotating it to create surface tension.
⏱️ 5 min - 9
Lightly flour a proofing basket (banneton). Transfer the preshaped dough, seam-side up, into the prepared banneton. Cover the banneton with a plastic bag or lid and transfer it to the fridge for cold proofing overnight (approximately 10-14 hours).
⏱️ 660 min - 10
The next day, about 45-60 minutes before you plan to bake, preheat your oven to 230°C (450°F) with a Dutch oven (with its lid on) inside. Allow the Dutch oven to get very hot.
⏱️ 45 min•🌡️ 230 - 11
Carefully take the cold dough out of the fridge. Gently turn the dough out onto a piece of parchment paper.
⏱️ 2 min - 12
Using a sharp blade or lame, score the top surface of the dough with your desired pattern. A single deep slash or a geometric design works well.
⏱️ 2 min - 13
Carefully lift the dough along with the parchment paper and transfer it into the preheated hot Dutch oven. Place the lid back on the Dutch oven.
⏱️ 1 min - 14
Bake with the lid on for 25 minutes.
⏱️ 25 min•🌡️ 230 - 15
Remove the lid from the Dutch oven. Continue baking for another 20-25 minutes, or until the bread develops a deep golden-brown, crispy crust.
⏱️ 25 min•🌡️ 230 - 16
Once baked, carefully remove the bread from the Dutch oven and transfer it to a wire rack to cool completely before slicing and serving. This is crucial for the crumb to set.
⏱️ 180 min - 17
Take the portion of freshly fed starter (30-50 g) that was reserved from Step 1 and place it directly back into the fridge. It will remain active and healthy for another week without needing another feed until its next use.
⏱️ 1 min