Open Kettle Canned Butter
Open Kettle Canned Butter

Ingredients
- 8 cups sweet cream butter, unwrapped, any preferred brand (approximately 16 sticks)
Instructions
- 1
Preheat your oven to 220°F. Place clean, empty pint-sized mason jars on a baking sheet. Ensure jars are free of any cracks or chips.
⏱️ 10 min•🌡️ 220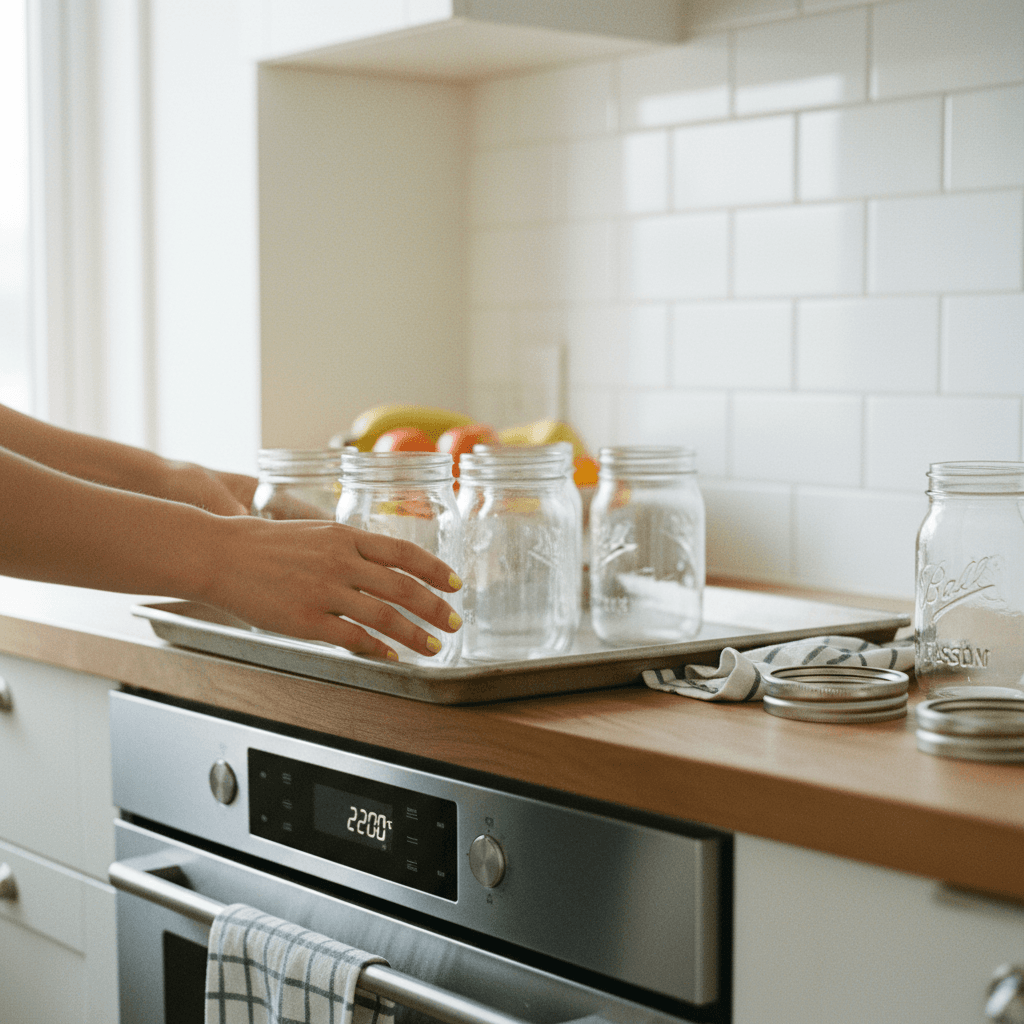
- 2
Unwrap the sticks of sweet cream butter and place them into the prepared mason jars, filling each jar as much as possible with solid butter. Do not pack them too tightly, just fill them loosely.
⏱️ 10 min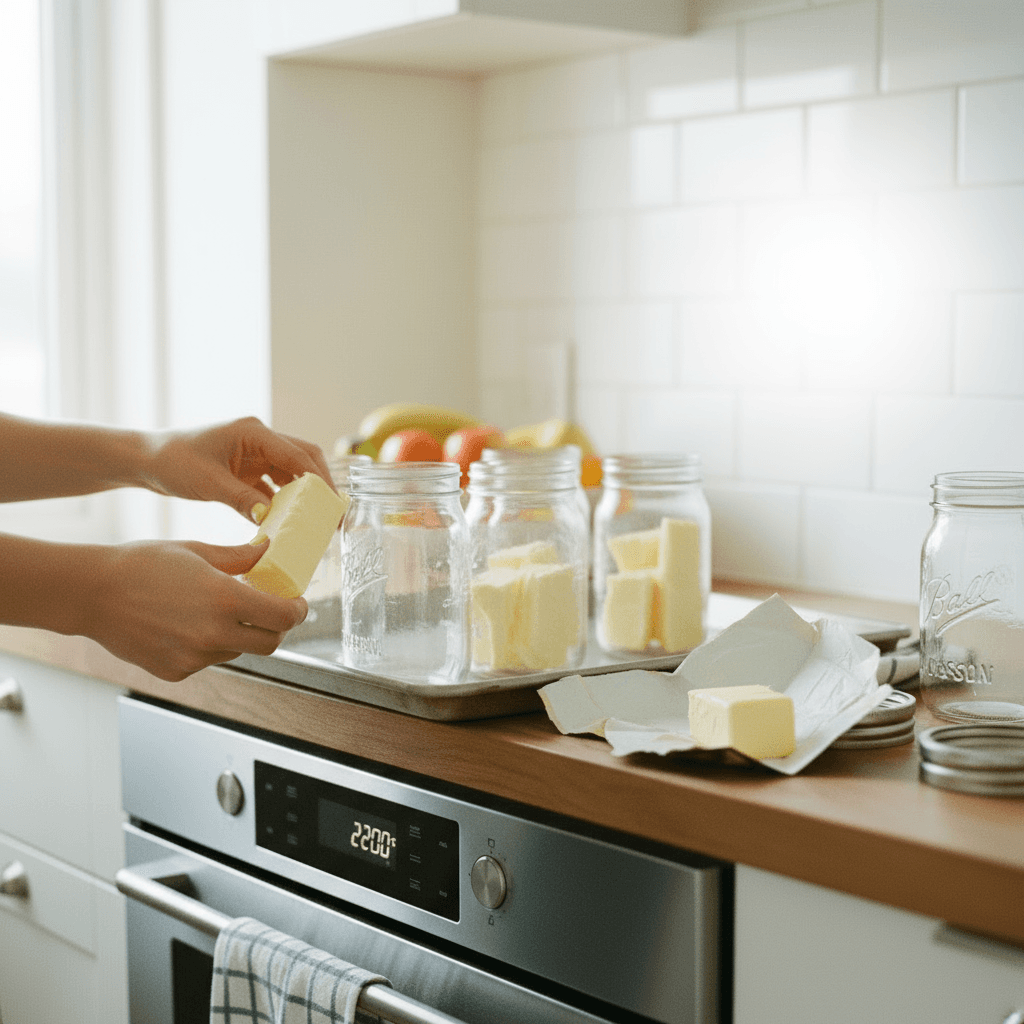
- 3
Place the baking sheet with the butter-filled jars into the preheated oven. On a separate baking sheet, arrange the metal canning lids (do not include the rings yet) and place them in the oven to heat.
⏱️ 5 min•🌡️ 220
- 4
Allow the butter to melt in the oven. Check on the jars every 15 to 20 minutes. As the butter melts down, carefully add more solid butter to the jars to ensure they are as full as possible. Continue this process until all butter is melted and the jars are filled to approximately a 1-inch headspace from the top.
⏱️ 60 min•🌡️ 220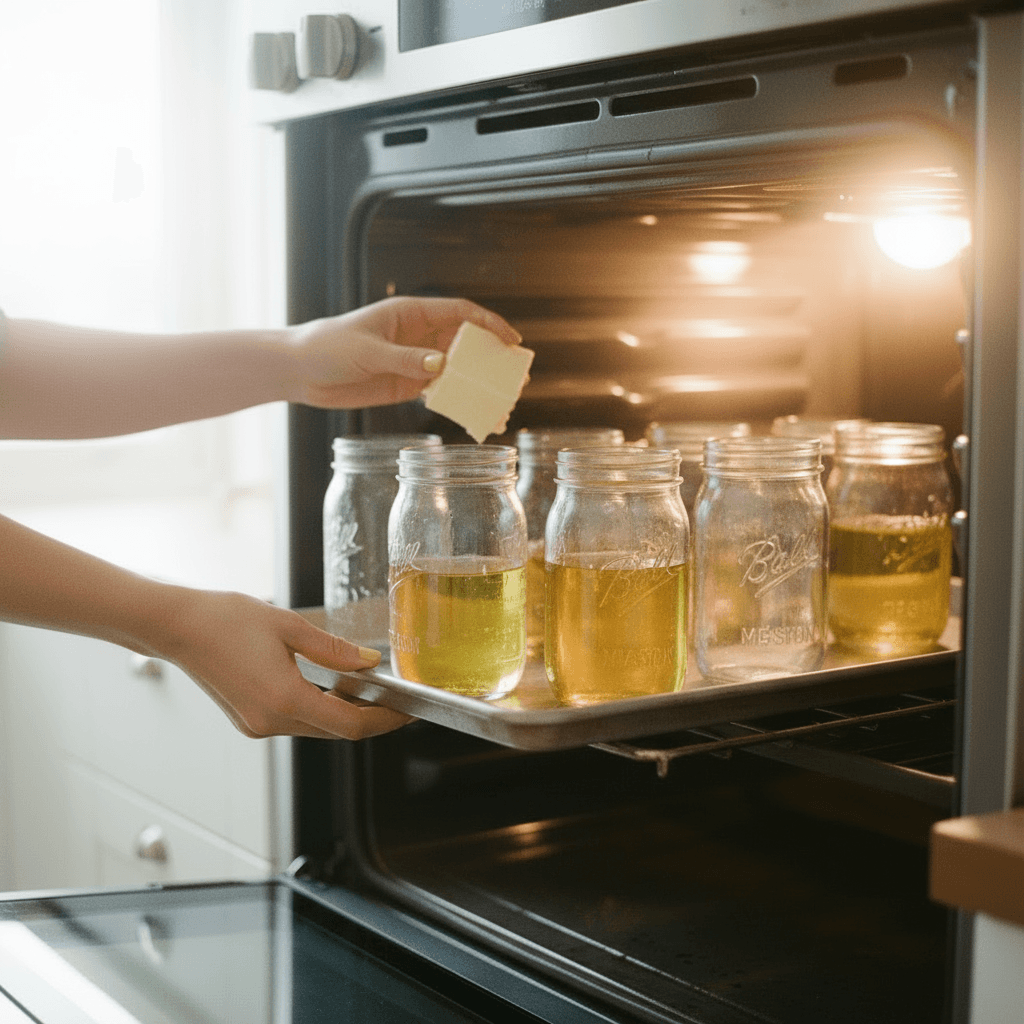
- 5
Once the butter is fully melted and the jars have the appropriate headspace, carefully remove the baking sheet with the jars from the oven using oven mitts. Immediately remove the hot canning lids from the oven.
⏱️ 5 min
- 6
Working quickly and carefully, wipe the rims of each hot jar clean with a paper towel dampened with plain water. Do NOT use vinegar, as it can curdle the dairy. Ensure no butter residue is left on the rim.
⏱️ 5 min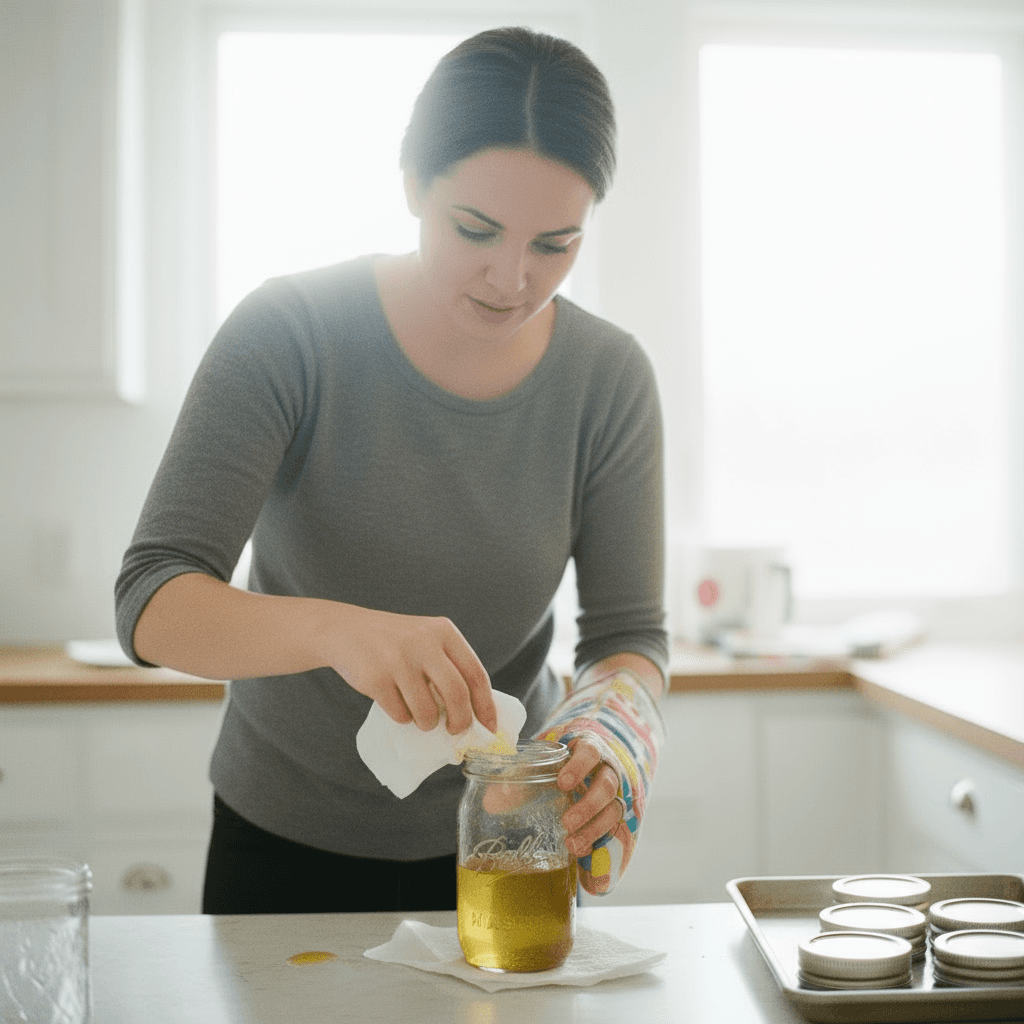
- 7
Place a hot canning lid onto each wiped jar rim. Immediately screw on the metal canning rings as tightly as possible. For this open kettle method, the rings should be secured firmly, not just fingertip tight.
⏱️ 5 min
- 8
Leave the sealed jars on the counter to cool down and allow a vacuum seal to form. During the cooling process (which can take 2 to 6 hours), gently shake each jar every 20 minutes. This is crucial to reincorporate the milk solids that separate and settle at the bottom, ensuring a consistent texture. You will hear a 'pop' as the seals form.
⏱️ 240 min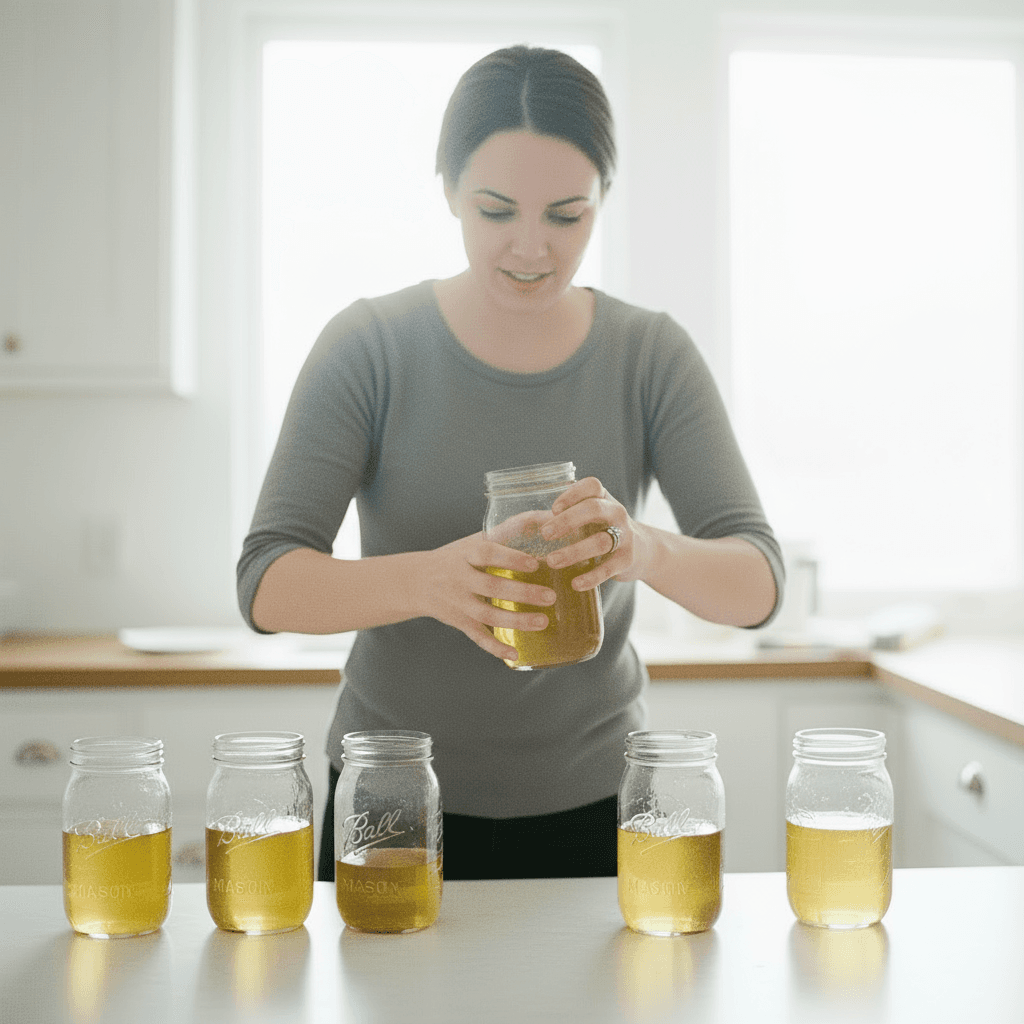
- 9
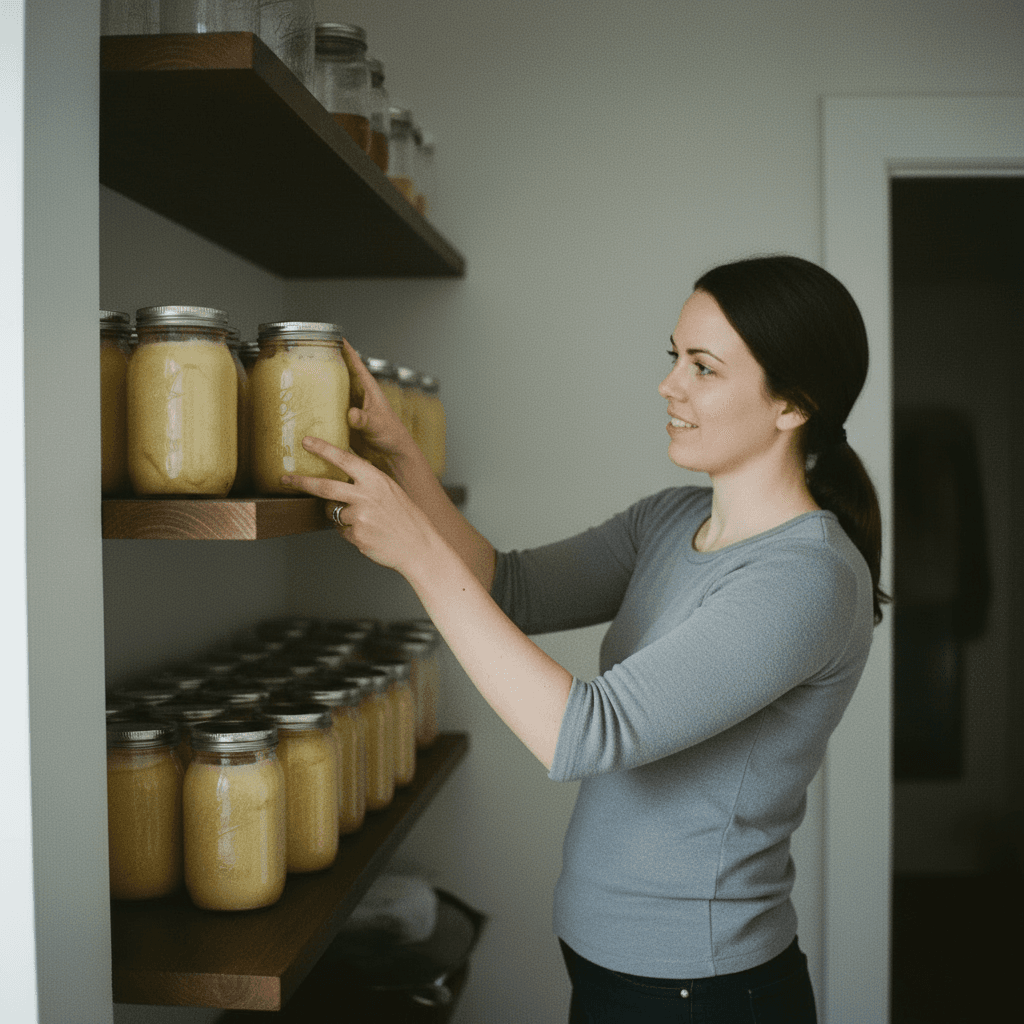
Once completely cooled and sealed, the canned butter is shelf-stable and can be stored at room temperature in a cool, dark place. Enjoy your preserved butter!
Kitchen Tools
Nutrition Facts (per serving)
Open Kettle Canned Butter
Ingredients
- 8 cups sweet cream butter, unwrapped, any preferred brand (approximately 16 sticks)
Instructions
- 1
Preheat your oven to 220°F. Place clean, empty pint-sized mason jars on a baking sheet. Ensure jars are free of any cracks or chips.
⏱️ 10 min•🌡️ 220 - 2
Unwrap the sticks of sweet cream butter and place them into the prepared mason jars, filling each jar as much as possible with solid butter. Do not pack them too tightly, just fill them loosely.
⏱️ 10 min - 3
Place the baking sheet with the butter-filled jars into the preheated oven. On a separate baking sheet, arrange the metal canning lids (do not include the rings yet) and place them in the oven to heat.
⏱️ 5 min•🌡️ 220 - 4
Allow the butter to melt in the oven. Check on the jars every 15 to 20 minutes. As the butter melts down, carefully add more solid butter to the jars to ensure they are as full as possible. Continue this process until all butter is melted and the jars are filled to approximately a 1-inch headspace from the top.
⏱️ 60 min•🌡️ 220 - 5
Once the butter is fully melted and the jars have the appropriate headspace, carefully remove the baking sheet with the jars from the oven using oven mitts. Immediately remove the hot canning lids from the oven.
⏱️ 5 min - 6
Working quickly and carefully, wipe the rims of each hot jar clean with a paper towel dampened with plain water. Do NOT use vinegar, as it can curdle the dairy. Ensure no butter residue is left on the rim.
⏱️ 5 min - 7
Place a hot canning lid onto each wiped jar rim. Immediately screw on the metal canning rings as tightly as possible. For this open kettle method, the rings should be secured firmly, not just fingertip tight.
⏱️ 5 min - 8
Leave the sealed jars on the counter to cool down and allow a vacuum seal to form. During the cooling process (which can take 2 to 6 hours), gently shake each jar every 20 minutes. This is crucial to reincorporate the milk solids that separate and settle at the bottom, ensuring a consistent texture. You will hear a 'pop' as the seals form.
⏱️ 240 min - 9
Once completely cooled and sealed, the canned butter is shelf-stable and can be stored at room temperature in a cool, dark place. Enjoy your preserved butter!