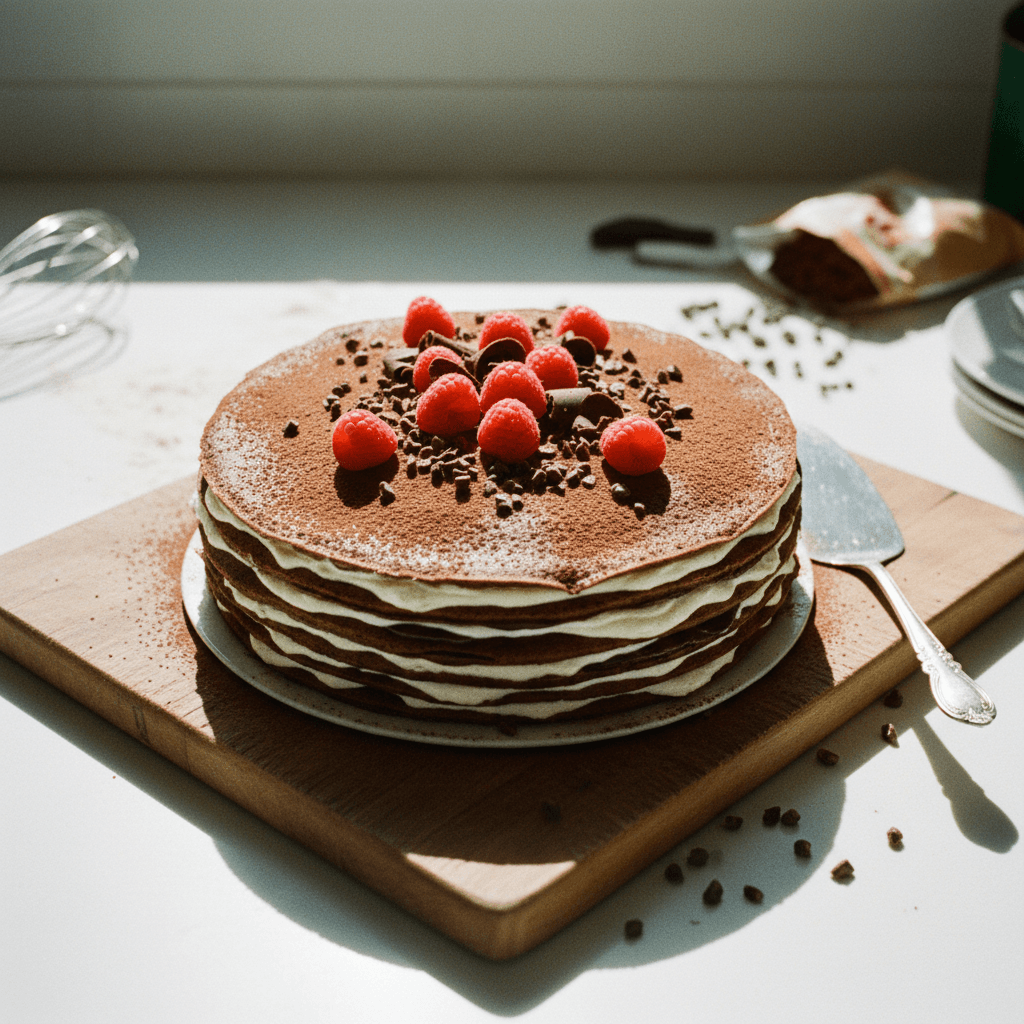
Layered Chocolate Crepe Cake
Layered Chocolate Crepe Cake
Ingredients
For the Chocolate Crepes
- 1 1/2 cups all-purpose flour
- 1/4 cup granulated sugar
- 1/2 cup unsweetened cocoa powder
- 1/4 teaspoon salt
- 3 large eggs
- 2 cups milk
- 4 tablespoons unsalted butter, melted
- 1 teaspoon vanilla extract
- 1 tablespoon vegetable oil, or as needed, for cooking crepes
For the White Cream Filling
- 1 1/2 cups heavy cream, cold
- 1/4 cup powdered sugar
- 1 teaspoon vanilla extract
For the Chocolate Cream Filling and Frosting
- 2 cups heavy cream, cold
- 1/2 cup powdered sugar
- 1/2 cup unsweetened cocoa powder
- 1 teaspoon vanilla extract
For Decoration
- 1/4 cup white chocolate, shaved or finely chopped
- 1 tablespoon unsweetened cocoa powder, for dusting
Instructions
- 1
Prepare the chocolate crepe batter: In a large bowl, whisk together the all-purpose flour, granulated sugar, unsweetened cocoa powder, and salt.
⏱️ 5 min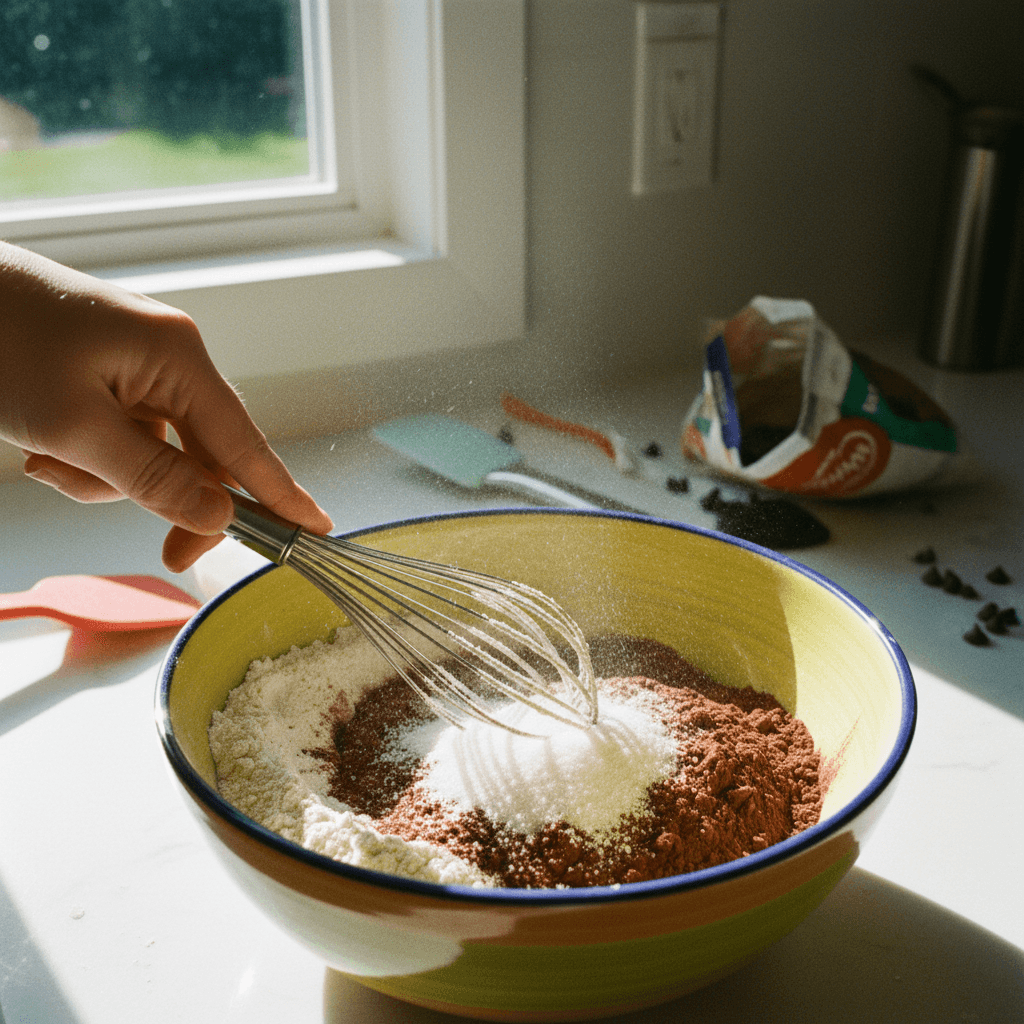
- 2
In a separate bowl, whisk together the eggs, milk, melted butter, and vanilla extract until well combined.
⏱️ 3 min
- 3
Gradually add the wet ingredients to the dry ingredients, whisking constantly until a smooth batter forms. Ensure there are no lumps. The batter will be thin.
⏱️ 5 min
- 4
Cover the batter and refrigerate for at least 1 hour (or up to 24 hours). This allows the flour to fully hydrate, resulting in more tender crepes.
⏱️ 60 min
- 5
Cook the chocolate crepes: Heat an 8-inch non-stick crepe pan or skillet over medium-low heat. Lightly grease the pan with a small amount of vegetable oil, wiping excess with a paper towel.
⏱️ 2 min
- 6
Pour about 1/4 cup of batter into the hot pan, immediately tilting and swirling the pan to spread the batter evenly into a thin circle. Cook for 1-2 minutes until the edges begin to crisp and the crepe easily releases from the pan. Flip and cook for another 30 seconds to 1 minute.
⏱️ 30 min
- 7
Transfer the cooked crepe to a plate. Repeat with the remaining batter, stacking the crepes as they are cooked. You should yield approximately 20-24 crepes. If desired, use an 8-inch circular mold or cutter to trim the crepes to a uniform size once cooled.
⏱️ 15 min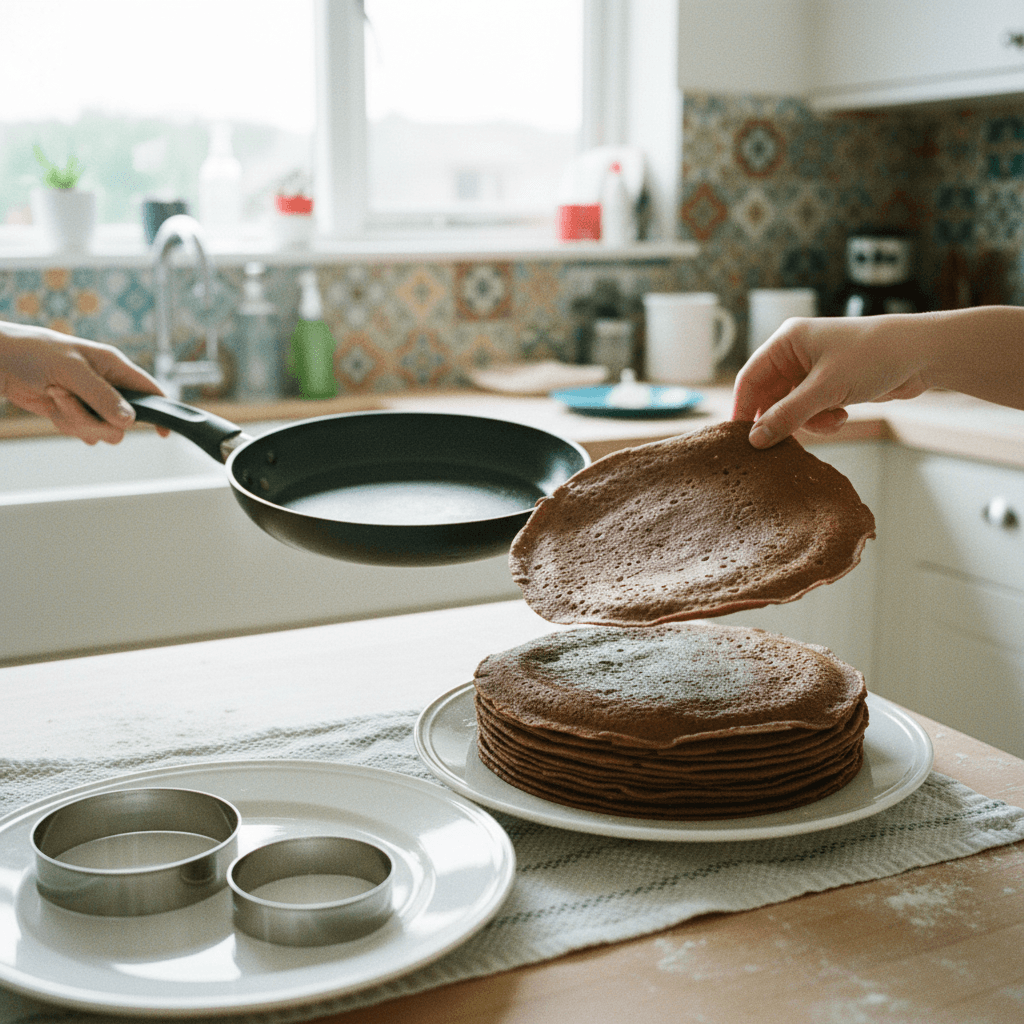
- 8
Prepare the white cream filling: In a large, chilled bowl, combine the cold heavy cream, powdered sugar, and vanilla extract. Beat with an electric mixer on medium-high speed until stiff peaks form. Transfer to a piping bag fitted with a round tip.
⏱️ 10 min
- 9
Prepare the chocolate cream filling and frosting: In another large, chilled bowl, combine the cold heavy cream, powdered sugar, unsweetened cocoa powder, and vanilla extract. Beat with an electric mixer on medium-high speed until stiff peaks form. Transfer about 1 1/2 cups of this cream to a piping bag fitted with a round tip (for layering). Reserve the remaining chocolate cream for frosting the cake.
⏱️ 10 min
- 10
Assemble the cake: Place one chocolate crepe on a serving plate or cake stand. Pipe parallel lines of the white cream filling across the crepe, leaving a small border around the edge.
⏱️ 5 min
- 11
Place another crepe on top of the white cream. Gently press a wooden skewer or the back of a spoon across the surface of the crepe to slightly spread the cream and create a subtle wavy pattern.
⏱️ 2 min
- 12
Pipe parallel lines of the chocolate cream filling across this crepe.
⏱️ 2 min
- 13
Repeat the layering process, alternating between white cream and chocolate cream on each subsequent crepe, until all crepes are used or your desired cake height is achieved. Finish with a crepe on top.
⏱️ 20 min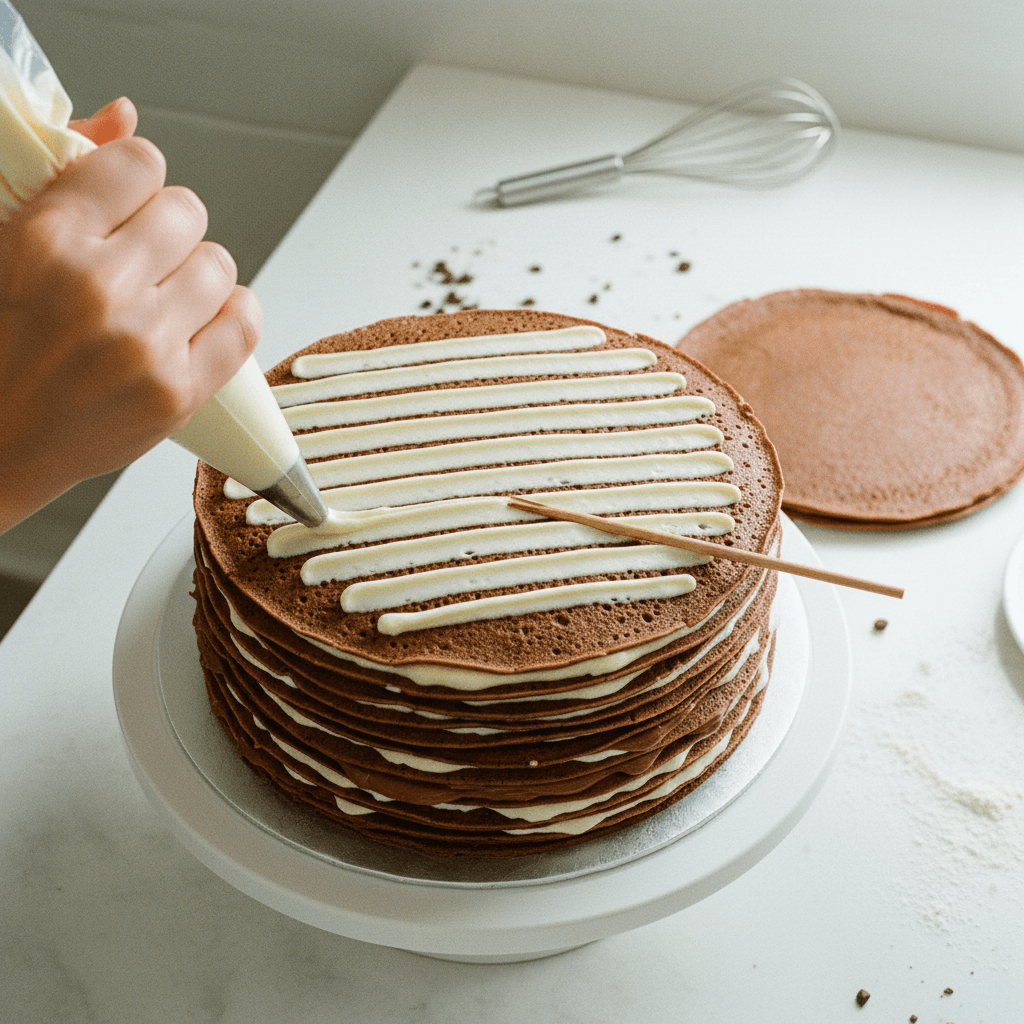
- 14
Chill the assembled crepe cake for at least 30 minutes to allow the creams to set slightly.
⏱️ 30 min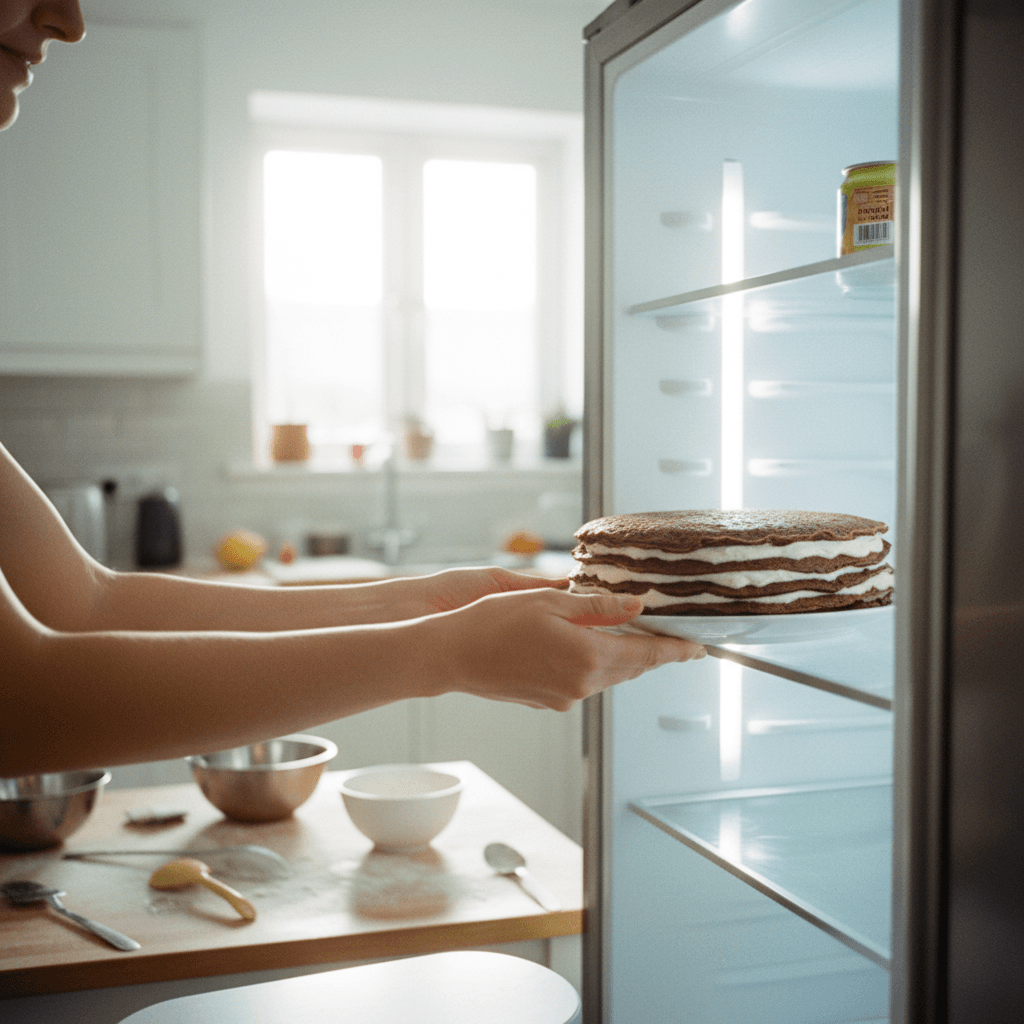
- 15
Frost the cake: Using an offset spatula, spread the reserved chocolate cream evenly over the top and sides of the chilled crepe cake, smoothing it out.
⏱️ 10 min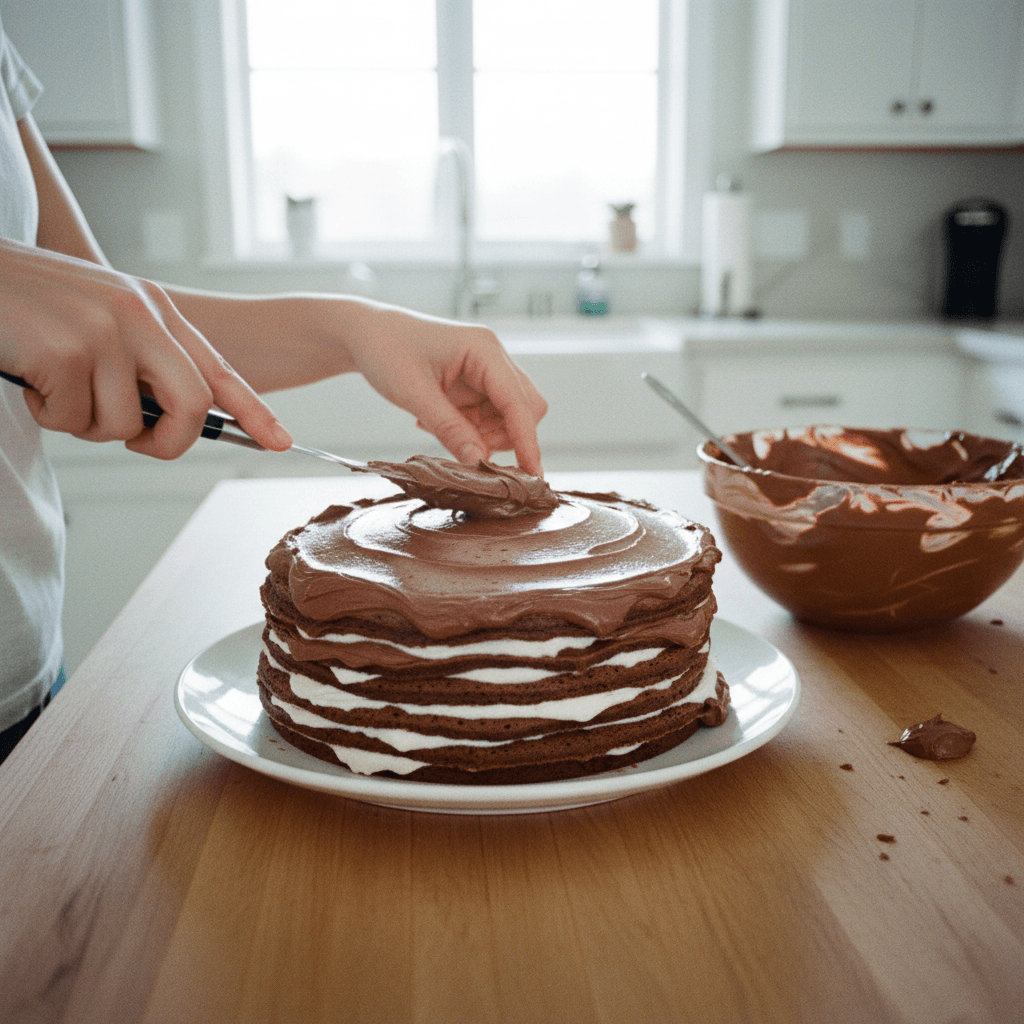
- 16
Decorate the sides of the cake with white chocolate shavings. Dust the top generously with unsweetened cocoa powder.
⏱️ 5 min
- 17
Refrigerate the finished cake for at least 2 hours before slicing and serving. This allows the layers to fully set and makes for cleaner slices.
⏱️ 90 min
Kitchen Tools
Nutrition Facts (per serving)
Layered Chocolate Crepe Cake
For the Chocolate Crepes
- 1 1/2 cups all-purpose flour
- 1/4 cup granulated sugar
- 1/2 cup unsweetened cocoa powder
- 1/4 teaspoon salt
- 3 large eggs
- 2 cups milk
- 4 tablespoons unsalted butter, melted
- 1 teaspoon vanilla extract
- 1 tablespoon vegetable oil, or as needed, for cooking crepes
For the White Cream Filling
- 1 1/2 cups heavy cream, cold
- 1/4 cup powdered sugar
- 1 teaspoon vanilla extract
For the Chocolate Cream Filling and Frosting
- 2 cups heavy cream, cold
- 1/2 cup powdered sugar
- 1/2 cup unsweetened cocoa powder
- 1 teaspoon vanilla extract
For Decoration
- 1/4 cup white chocolate, shaved or finely chopped
- 1 tablespoon unsweetened cocoa powder, for dusting
Instructions
- 1
Prepare the chocolate crepe batter: In a large bowl, whisk together the all-purpose flour, granulated sugar, unsweetened cocoa powder, and salt.
⏱️ 5 min - 2
In a separate bowl, whisk together the eggs, milk, melted butter, and vanilla extract until well combined.
⏱️ 3 min - 3
Gradually add the wet ingredients to the dry ingredients, whisking constantly until a smooth batter forms. Ensure there are no lumps. The batter will be thin.
⏱️ 5 min - 4
Cover the batter and refrigerate for at least 1 hour (or up to 24 hours). This allows the flour to fully hydrate, resulting in more tender crepes.
⏱️ 60 min - 5
Cook the chocolate crepes: Heat an 8-inch non-stick crepe pan or skillet over medium-low heat. Lightly grease the pan with a small amount of vegetable oil, wiping excess with a paper towel.
⏱️ 2 min - 6
Pour about 1/4 cup of batter into the hot pan, immediately tilting and swirling the pan to spread the batter evenly into a thin circle. Cook for 1-2 minutes until the edges begin to crisp and the crepe easily releases from the pan. Flip and cook for another 30 seconds to 1 minute.
⏱️ 30 min - 7
Transfer the cooked crepe to a plate. Repeat with the remaining batter, stacking the crepes as they are cooked. You should yield approximately 20-24 crepes. If desired, use an 8-inch circular mold or cutter to trim the crepes to a uniform size once cooled.
⏱️ 15 min - 8
Prepare the white cream filling: In a large, chilled bowl, combine the cold heavy cream, powdered sugar, and vanilla extract. Beat with an electric mixer on medium-high speed until stiff peaks form. Transfer to a piping bag fitted with a round tip.
⏱️ 10 min - 9
Prepare the chocolate cream filling and frosting: In another large, chilled bowl, combine the cold heavy cream, powdered sugar, unsweetened cocoa powder, and vanilla extract. Beat with an electric mixer on medium-high speed until stiff peaks form. Transfer about 1 1/2 cups of this cream to a piping bag fitted with a round tip (for layering). Reserve the remaining chocolate cream for frosting the cake.
⏱️ 10 min - 10
Assemble the cake: Place one chocolate crepe on a serving plate or cake stand. Pipe parallel lines of the white cream filling across the crepe, leaving a small border around the edge.
⏱️ 5 min - 11
Place another crepe on top of the white cream. Gently press a wooden skewer or the back of a spoon across the surface of the crepe to slightly spread the cream and create a subtle wavy pattern.
⏱️ 2 min - 12
Pipe parallel lines of the chocolate cream filling across this crepe.
⏱️ 2 min - 13
Repeat the layering process, alternating between white cream and chocolate cream on each subsequent crepe, until all crepes are used or your desired cake height is achieved. Finish with a crepe on top.
⏱️ 20 min - 14
Chill the assembled crepe cake for at least 30 minutes to allow the creams to set slightly.
⏱️ 30 min - 15
Frost the cake: Using an offset spatula, spread the reserved chocolate cream evenly over the top and sides of the chilled crepe cake, smoothing it out.
⏱️ 10 min - 16
Decorate the sides of the cake with white chocolate shavings. Dust the top generously with unsweetened cocoa powder.
⏱️ 5 min - 17
Refrigerate the finished cake for at least 2 hours before slicing and serving. This allows the layers to fully set and makes for cleaner slices.
⏱️ 90 min