Easy No-Knead Artisan Bread
Easy No-Knead Artisan Bread

Ingredients
For the Dough
- 1 1/2 cups warm water
- 2 1/4 teaspoons active yeast
- 2 teaspoons honey, optional
- 3 3/4 cups bread flour
- 2 teaspoons salt
- rice flour, for dusting
Instructions
- 1
In a measuring cup, combine the warm water with the active yeast. Add the honey (if using) and mix well. Set this mixture aside for a few minutes to allow the yeast to activate and become foamy.
⏱️ 2 min
- 2
In a large mixing bowl, add the bread flour and salt. Whisk briefly to combine.
⏱️ 1 min
- 3
Pour the activated yeast mixture into the dry ingredients. Mix with a stand mixer on low speed (using a dough hook) or by hand until a shaggy, slightly sticky dough forms. Avoid overmixing.
⏱️ 3 min
- 4
Transfer the dough to a lightly oiled bowl. Shape the dough into a cohesive ball within the bowl. Cover the bowl with a reusable fabric cover, plastic wrap, or a clean kitchen towel, and let the dough rest and rise at room temperature for 2 hours, or until doubled in size.
⏱️ 2 min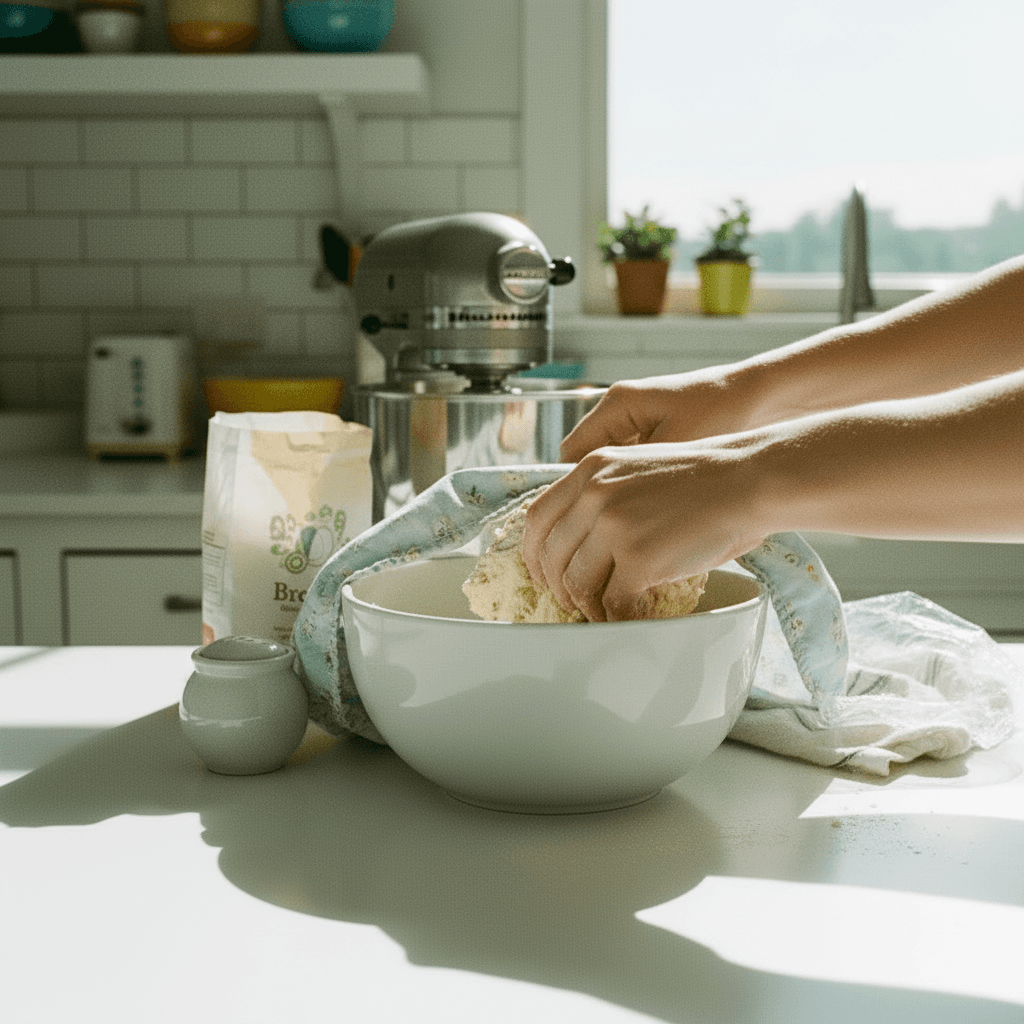
- 5
While the dough is undergoing its first rise, preheat your oven to 450°F. Place an empty Dutch oven with its lid inside the oven on the middle rack to preheat thoroughly.
00🌡️ 450
- 6
After the 2-hour rise, gently deflate the dough by lightly punching it down. Then, stretch and pull the sides of the dough into the center to form a tight, cohesive ball.
⏱️ 3 min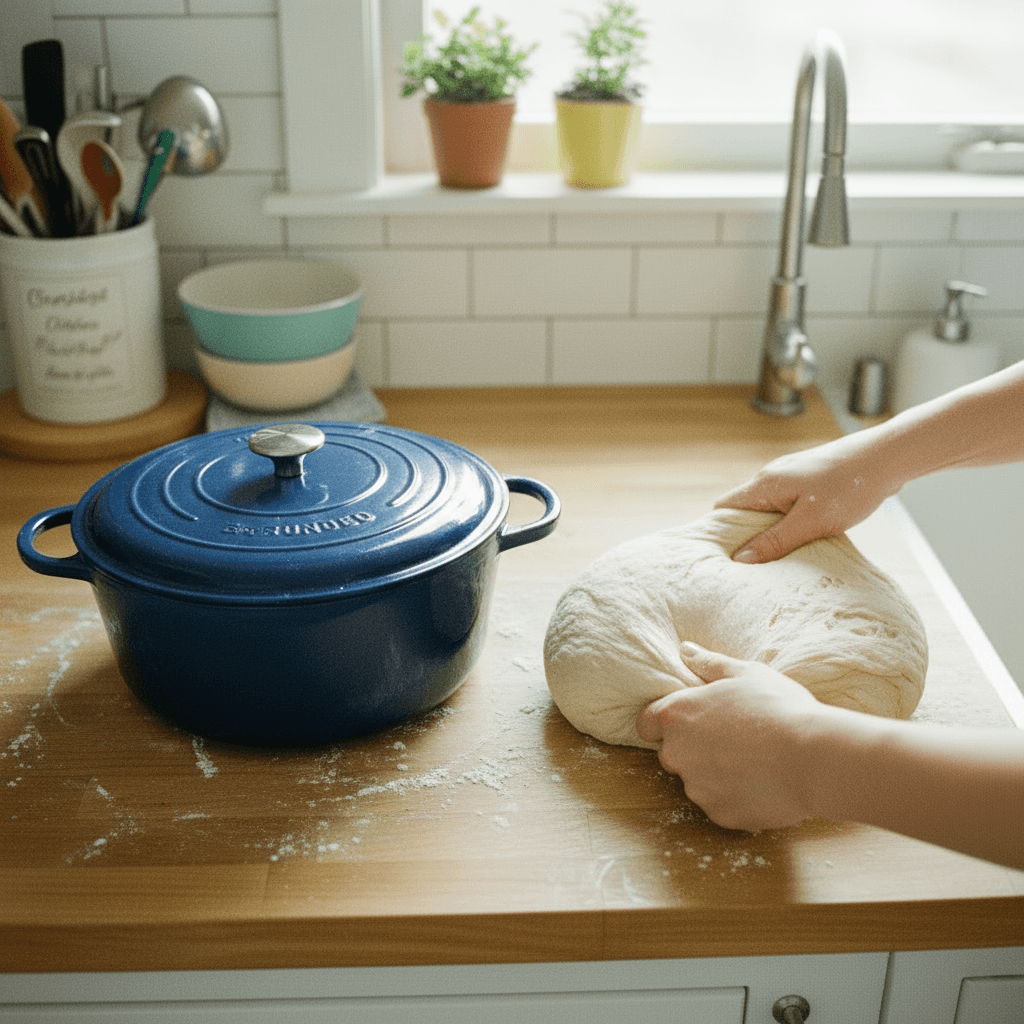
- 7
Turn the dough out onto a lightly floured surface (such as a silicone mat or parchment paper). Gently reshape it into a round ball. Cover the dough with a clean kitchen towel and let it rest for approximately 30 minutes for a second rise (proofing).
⏱️ 2 min
- 8
Once rested, dust the top of the dough with a small amount of rice flour. Using a sharp knife or bread lame, make a single score (a cut) across the top of the dough, about 1/2 inch deep.
⏱️ 2 min
- 9
Carefully transfer the dough into the preheated Dutch oven (you can use the silicone mat or parchment paper as a sling). Place the lid back on the Dutch oven. Bake for 30 minutes with the lid on.
⏱️ 1 min•🌡️ 450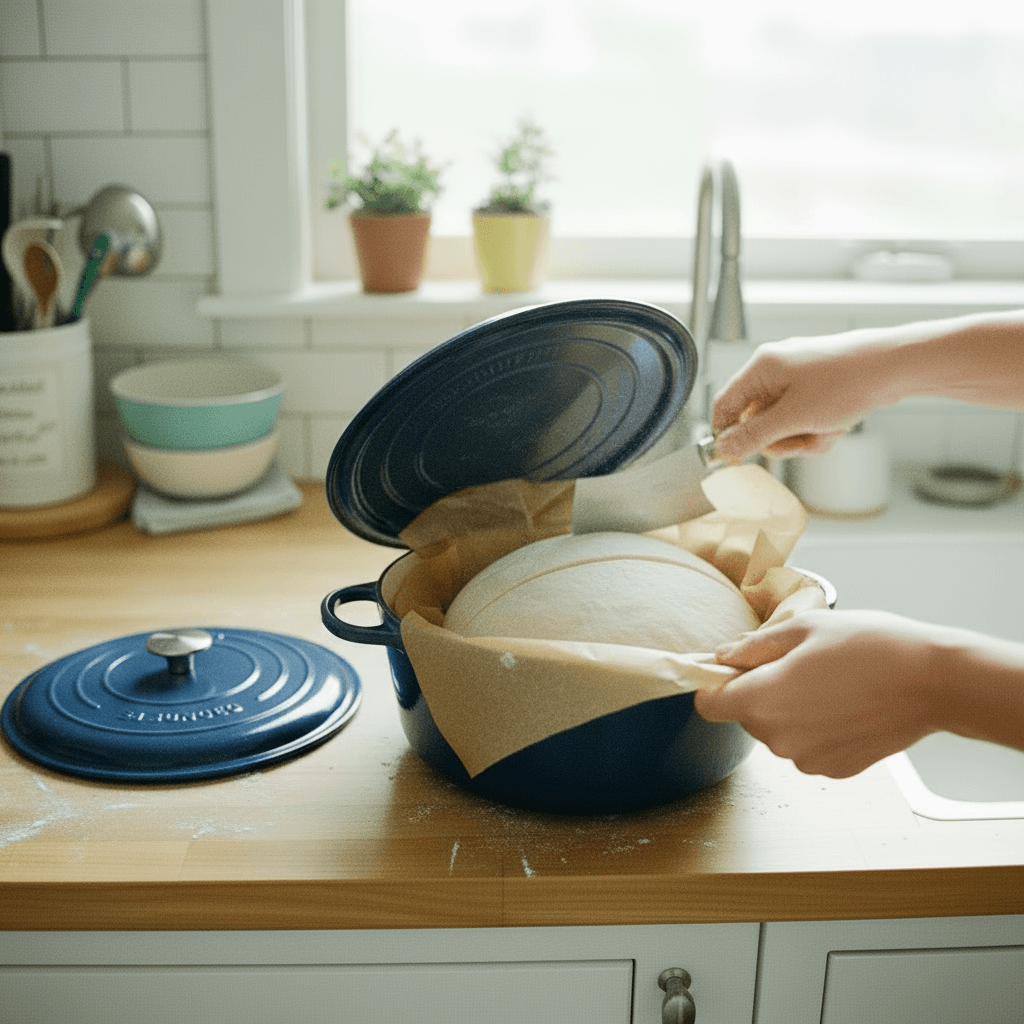
- 10
After 30 minutes, carefully remove the lid from the Dutch oven. Continue baking for another 10 minutes, or until the crust is golden-brown and crisp.
⏱️ 1 min•🌡️ 450
- 11
Remove the bread from the oven and carefully transfer it from the Dutch oven to a cutting board or wire rack. Allow the bread to cool completely before slicing and serving to ensure the interior sets properly.
⏱️ 1 min
Kitchen Tools
Nutrition Facts (per serving)
Easy No-Knead Artisan Bread
For the Dough
- 1 1/2 cups warm water
- 2 1/4 teaspoons active yeast
- 2 teaspoons honey, optional
- 3 3/4 cups bread flour
- 2 teaspoons salt
- rice flour, for dusting
Instructions
- 1
In a measuring cup, combine the warm water with the active yeast. Add the honey (if using) and mix well. Set this mixture aside for a few minutes to allow the yeast to activate and become foamy.
⏱️ 2 min - 2
In a large mixing bowl, add the bread flour and salt. Whisk briefly to combine.
⏱️ 1 min - 3
Pour the activated yeast mixture into the dry ingredients. Mix with a stand mixer on low speed (using a dough hook) or by hand until a shaggy, slightly sticky dough forms. Avoid overmixing.
⏱️ 3 min - 4
Transfer the dough to a lightly oiled bowl. Shape the dough into a cohesive ball within the bowl. Cover the bowl with a reusable fabric cover, plastic wrap, or a clean kitchen towel, and let the dough rest and rise at room temperature for 2 hours, or until doubled in size.
⏱️ 2 min - 5
While the dough is undergoing its first rise, preheat your oven to 450°F. Place an empty Dutch oven with its lid inside the oven on the middle rack to preheat thoroughly.
00🌡️ 450 - 6
After the 2-hour rise, gently deflate the dough by lightly punching it down. Then, stretch and pull the sides of the dough into the center to form a tight, cohesive ball.
⏱️ 3 min - 7
Turn the dough out onto a lightly floured surface (such as a silicone mat or parchment paper). Gently reshape it into a round ball. Cover the dough with a clean kitchen towel and let it rest for approximately 30 minutes for a second rise (proofing).
⏱️ 2 min - 8
Once rested, dust the top of the dough with a small amount of rice flour. Using a sharp knife or bread lame, make a single score (a cut) across the top of the dough, about 1/2 inch deep.
⏱️ 2 min - 9
Carefully transfer the dough into the preheated Dutch oven (you can use the silicone mat or parchment paper as a sling). Place the lid back on the Dutch oven. Bake for 30 minutes with the lid on.
⏱️ 1 min•🌡️ 450 - 10
After 30 minutes, carefully remove the lid from the Dutch oven. Continue baking for another 10 minutes, or until the crust is golden-brown and crisp.
⏱️ 1 min•🌡️ 450 - 11
Remove the bread from the oven and carefully transfer it from the Dutch oven to a cutting board or wire rack. Allow the bread to cool completely before slicing and serving to ensure the interior sets properly.
⏱️ 1 min