Homemade Butter and Buttermilk
Homemade Butter and Buttermilk
Ingredients
For the Butter and Buttermilk
- 2 cups heavy whipping cream
- 2 cups ice water, for rinsing, plus more as needed
- 1/2 teaspoon Maldon sea salt flakes, optional, to taste
Instructions
- 1
Pour the heavy whipping cream into a large mixing bowl. Ensure the bowl is securely attached to a stand mixer fitted with a whisk attachment.
⏱️ 1 min
- 2
Begin mixing the cream on medium-high speed. The cream will first thicken into soft peaks, then stiff peaks, forming whipped cream. This stage typically takes about 3-5 minutes.
⏱️ 4 min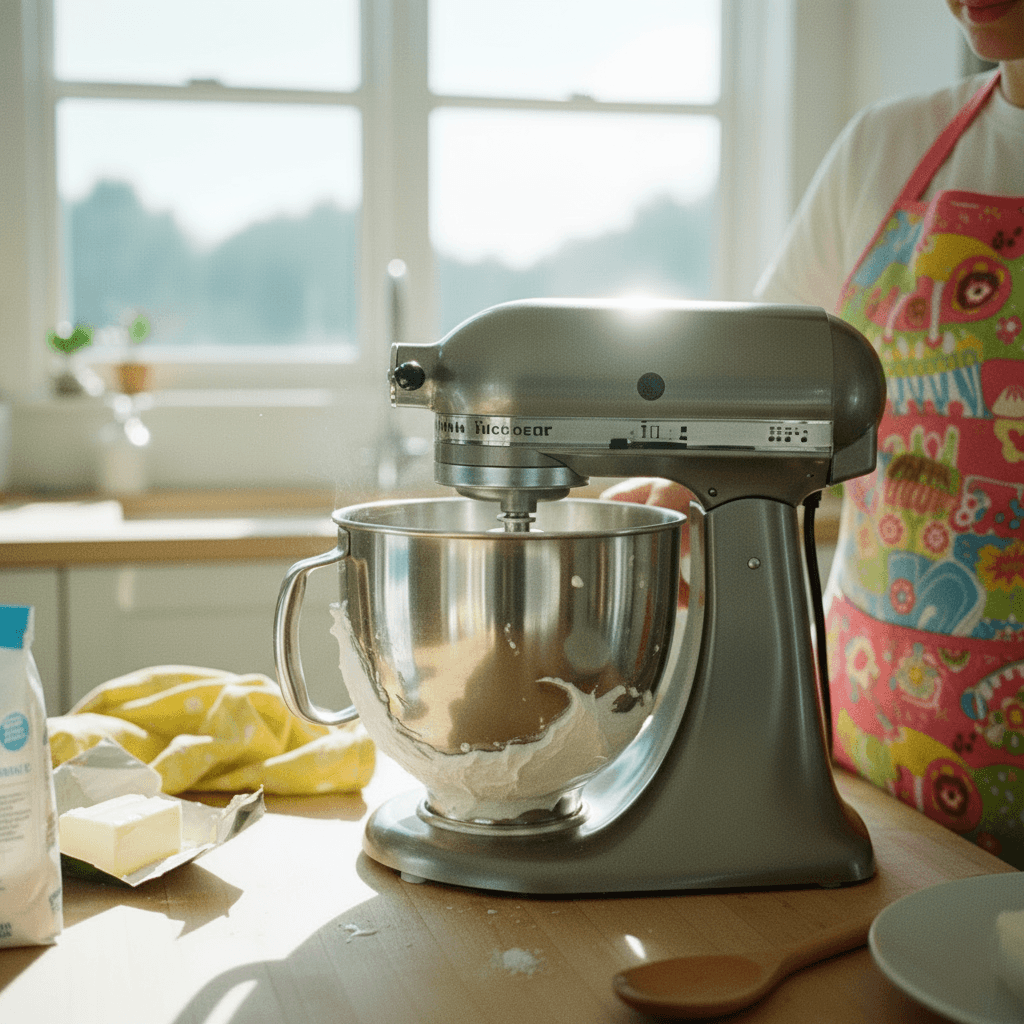
- 3
Continue mixing past the whipped cream stage. The cream will start to look grainy and yellow as it begins to separate into curds. This usually takes another 3-5 minutes.
⏱️ 4 min
- 4
Once the cream starts to clump significantly, cover the mixer and bowl with a kitchen towel. This will prevent splashing as the butter fully separates from the buttermilk.
⏱️ 1 min
- 5
Continue mixing until the butter solids fully separate from the liquid buttermilk. You will see distinct yellow clumps of butter and a milky liquid. This stage can take another 3-5 minutes.
⏱️ 4 min
- 6
Carefully pour the contents of the mixing bowl through a fine-mesh strainer into a clean jar or container. The strained liquid is your homemade buttermilk; save it for baking or other recipes.
⏱️ 2 min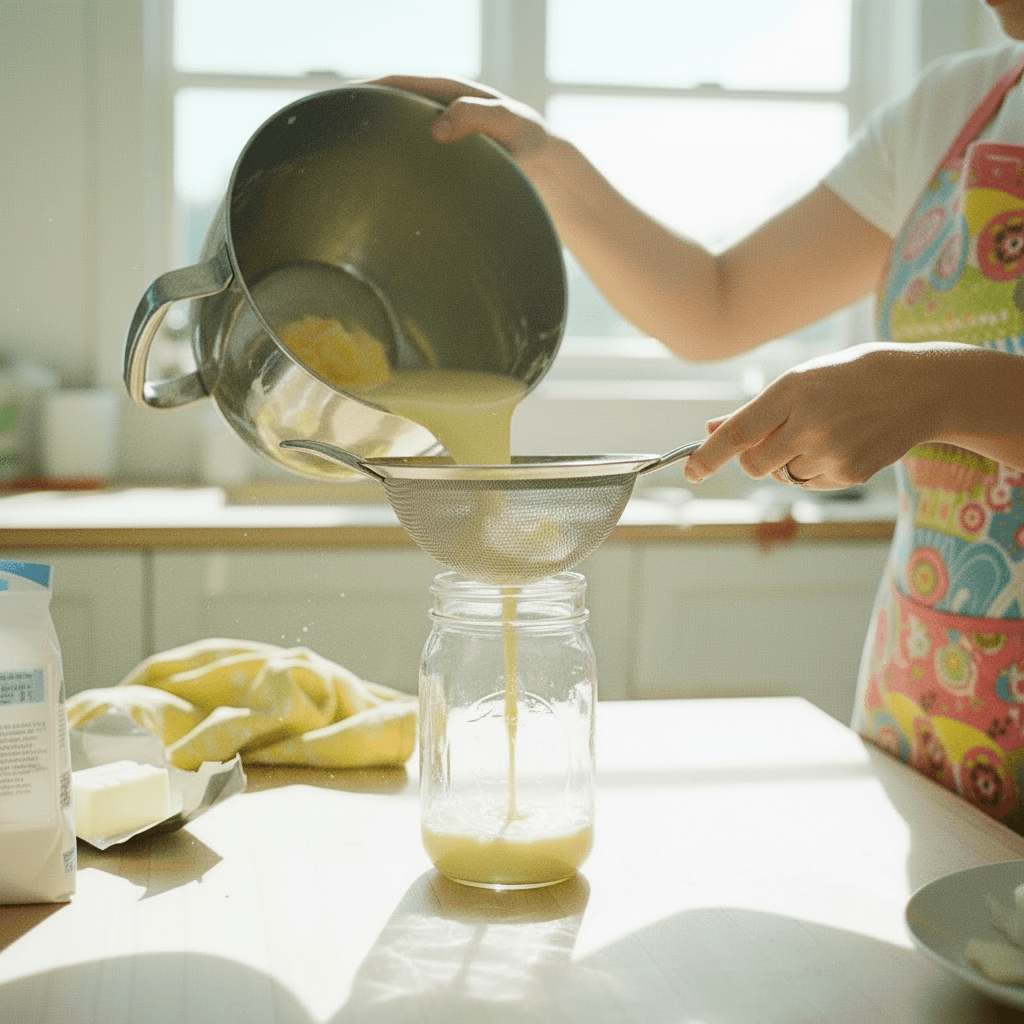
- 7
Remove the solid butter from the strainer and place it into a separate bowl filled with 2 cups of ice water. This cold water helps solidify the butter and makes it easier to work with.
⏱️ 1 min
- 8
Knead and squeeze the butter repeatedly under the ice water. This process helps to wash out any remaining buttermilk, which can cause the butter to spoil faster. Change the ice water if it becomes too cloudy, and continue kneading until the water remains clear.
⏱️ 4 min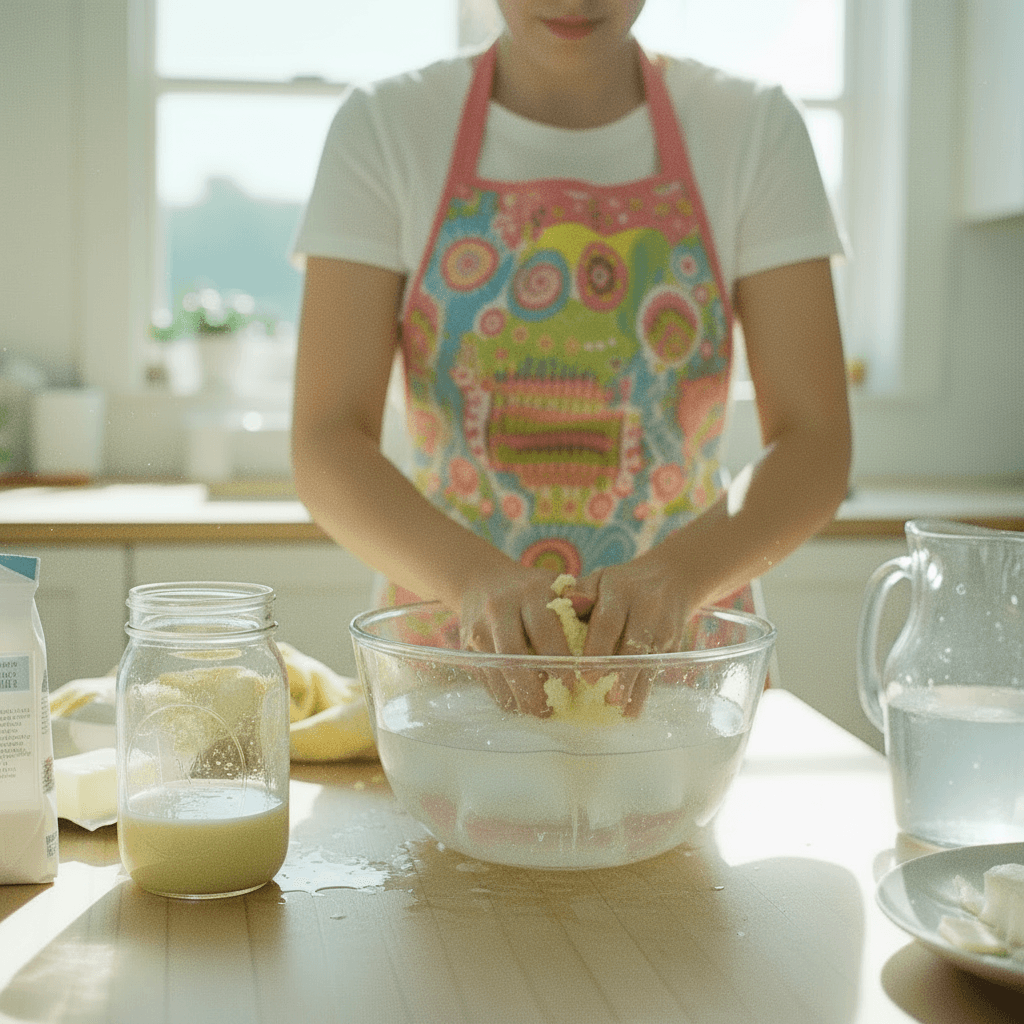
- 9
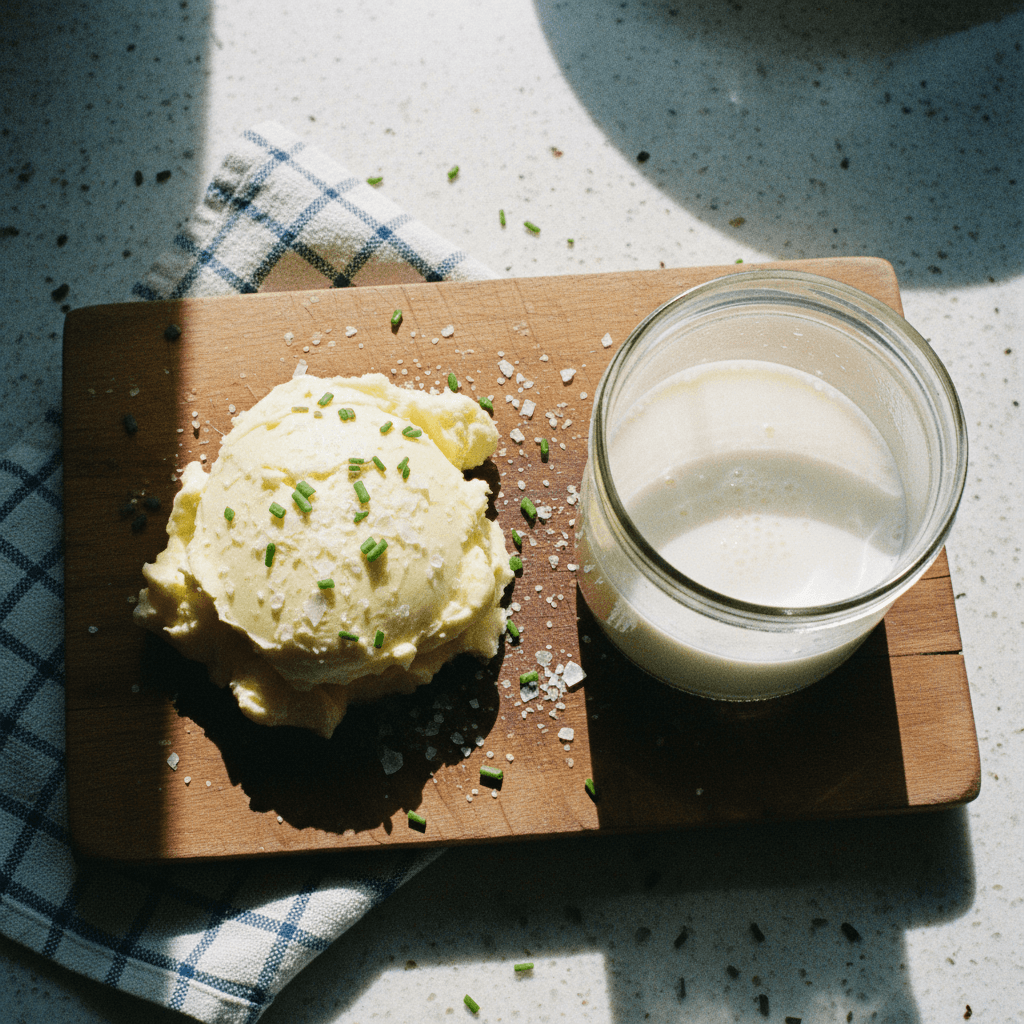
Once the butter is clean and most of the water has been squeezed out, transfer it to a clean surface or cutting board. If desired, sprinkle the Maldon sea salt flakes over the butter.
⏱️ 1 min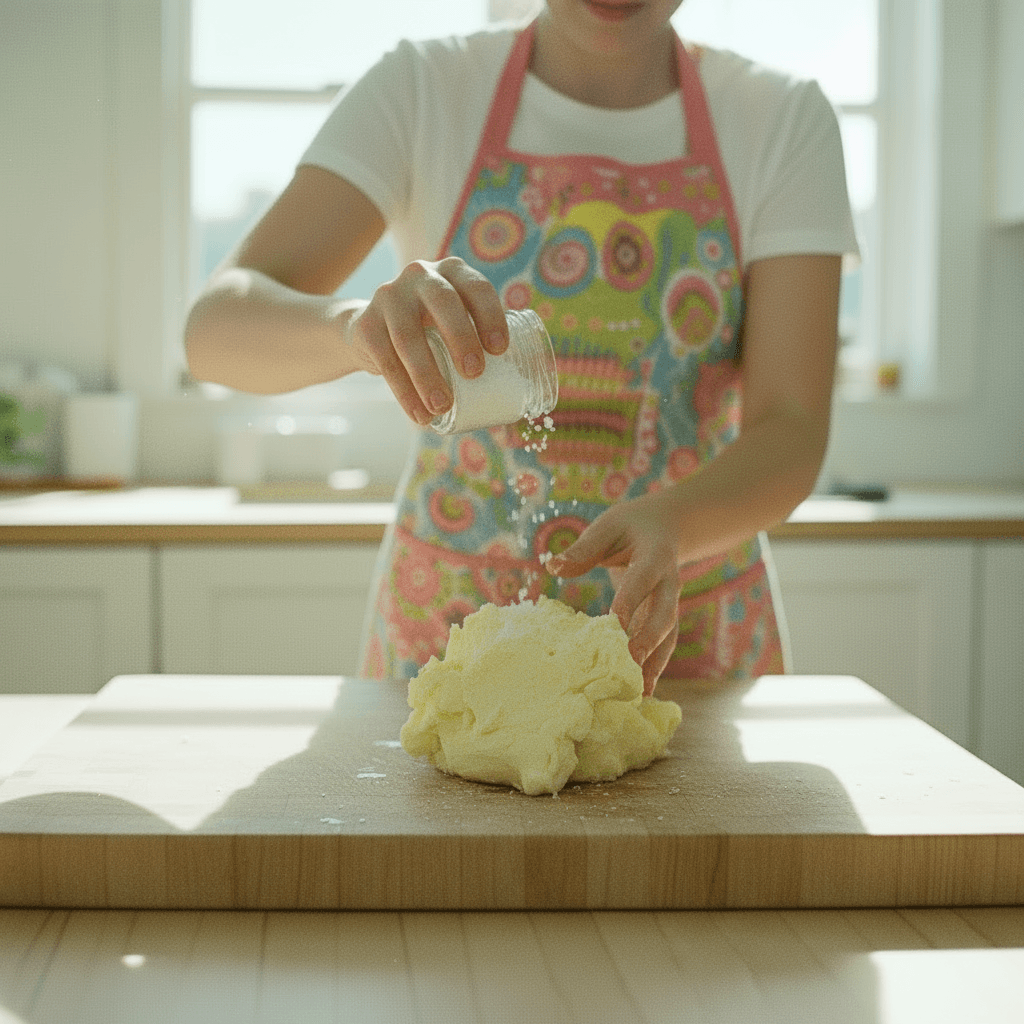
- 10
Fold and mix the salt into the butter until evenly distributed. Form the butter into your desired shape (e.g., a log or block) and transfer it to a butter dish or airtight container for storage.
⏱️ 1 min
Kitchen Tools
Nutrition Facts (per serving)
Homemade Butter and Buttermilk
Ingredients
For the Butter and Buttermilk
- 2 cups heavy whipping cream
- 2 cups ice water, for rinsing, plus more as needed
- 1/2 teaspoon Maldon sea salt flakes, optional, to taste
Instructions
- 1
Pour the heavy whipping cream into a large mixing bowl. Ensure the bowl is securely attached to a stand mixer fitted with a whisk attachment.
⏱️ 1 min - 2
Begin mixing the cream on medium-high speed. The cream will first thicken into soft peaks, then stiff peaks, forming whipped cream. This stage typically takes about 3-5 minutes.
⏱️ 4 min - 3
Continue mixing past the whipped cream stage. The cream will start to look grainy and yellow as it begins to separate into curds. This usually takes another 3-5 minutes.
⏱️ 4 min - 4
Once the cream starts to clump significantly, cover the mixer and bowl with a kitchen towel. This will prevent splashing as the butter fully separates from the buttermilk.
⏱️ 1 min - 5
Continue mixing until the butter solids fully separate from the liquid buttermilk. You will see distinct yellow clumps of butter and a milky liquid. This stage can take another 3-5 minutes.
⏱️ 4 min - 6
Carefully pour the contents of the mixing bowl through a fine-mesh strainer into a clean jar or container. The strained liquid is your homemade buttermilk; save it for baking or other recipes.
⏱️ 2 min - 7
Remove the solid butter from the strainer and place it into a separate bowl filled with 2 cups of ice water. This cold water helps solidify the butter and makes it easier to work with.
⏱️ 1 min - 8
Knead and squeeze the butter repeatedly under the ice water. This process helps to wash out any remaining buttermilk, which can cause the butter to spoil faster. Change the ice water if it becomes too cloudy, and continue kneading until the water remains clear.
⏱️ 4 min - 9
Once the butter is clean and most of the water has been squeezed out, transfer it to a clean surface or cutting board. If desired, sprinkle the Maldon sea salt flakes over the butter.
⏱️ 1 min - 10
Fold and mix the salt into the butter until evenly distributed. Form the butter into your desired shape (e.g., a log or block) and transfer it to a butter dish or airtight container for storage.
⏱️ 1 min