Sub Buns (Best Ever Sandwich Bread)
Sub Buns (Best Ever Sandwich Bread)

Ingredients
For the Sub Buns
- 1/4 cup milk
- 1 1/3 cups warm water
- 1 tablespoon yeast
- 1 tablespoon sugar
- 2 teaspoons salt
- 1 egg
- 1/4 cup butter, softened
- 4 1/4 cups flour
For Finishing
- 1 tablespoon butter, for buttering, melted
Instructions
- 1
In a large bowl, combine the milk, warm water, yeast, and sugar. Stir gently to combine. Let the mixture rest for 10 minutes until it becomes foamy and bubbly, indicating the yeast is active.
⏱️ 10 min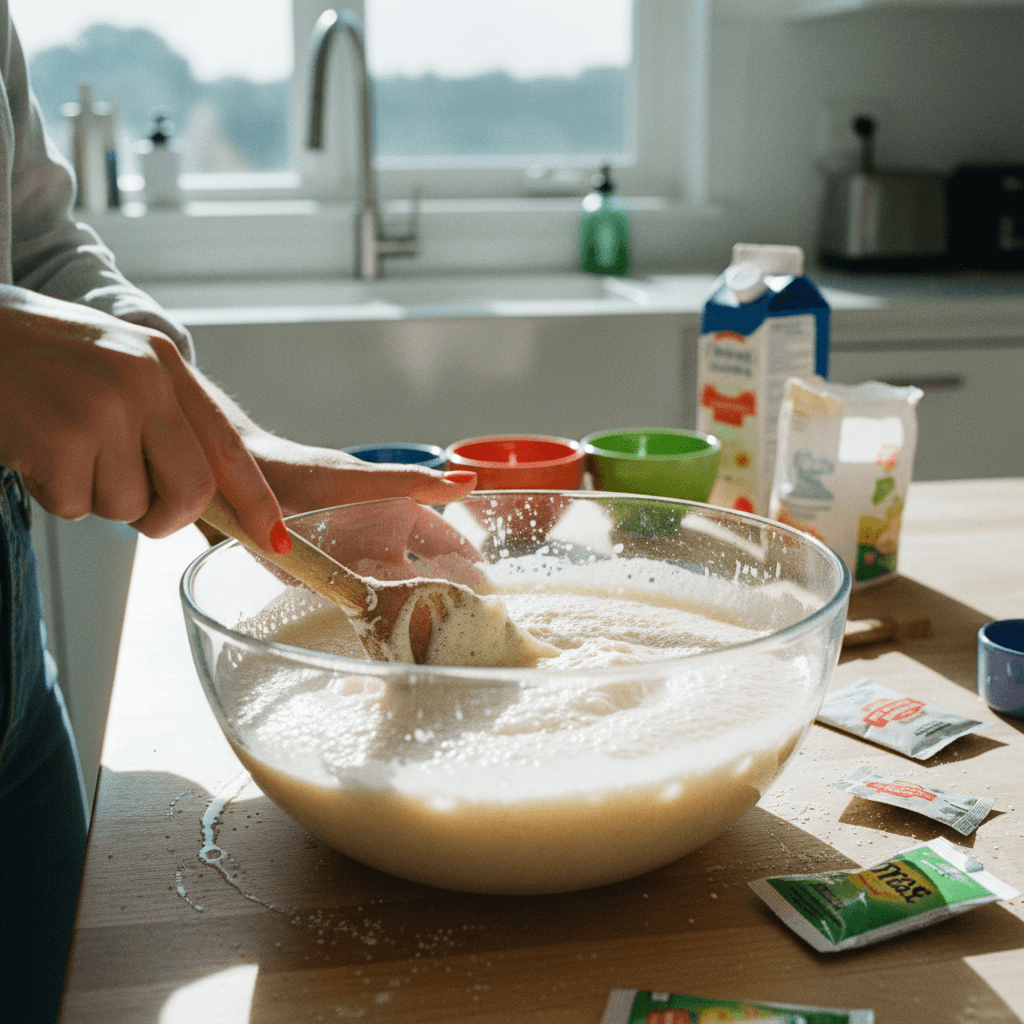
- 2
To the activated yeast mixture, add the salt, egg, softened butter, and flour. Mix with a spoon or in a stand mixer with a dough hook until a soft dough forms and all ingredients are incorporated.
⏱️ 5 min
- 3
Turn the dough out onto a lightly floured surface and knead for 10 minutes, or until the dough is soft, smooth, and elastic. Alternatively, knead in a stand mixer with a dough hook for 8-10 minutes.
⏱️ 10 min
- 4
Place the dough in a lightly oiled bowl, turning once to coat. Cover the bowl with plastic wrap or a clean kitchen towel and let it rise in a warm place for 1 hour, or until doubled in size.
⏱️ 60 min
- 5
Gently punch down the risen dough. Turn it out onto a lightly floured surface and divide it into 6 equal portions.
⏱️ 5 min
- 6
Take each portion of dough, flatten it slightly, then roll it into a log shape, approximately 8-10 inches long. Pinch and tuck the seams underneath as best as you can to create a smooth top.
⏱️ 5 min
- 7
Place the rolled dough logs on a baking sheet lined with parchment paper or lightly greased, ensuring they are about 1 inch apart.
⏱️ 2 min
- 8
Cover the baking sheet loosely with plastic wrap or a clean kitchen towel and let the buns rise for an additional 30 minutes in a warm place.
⏱️ 30 min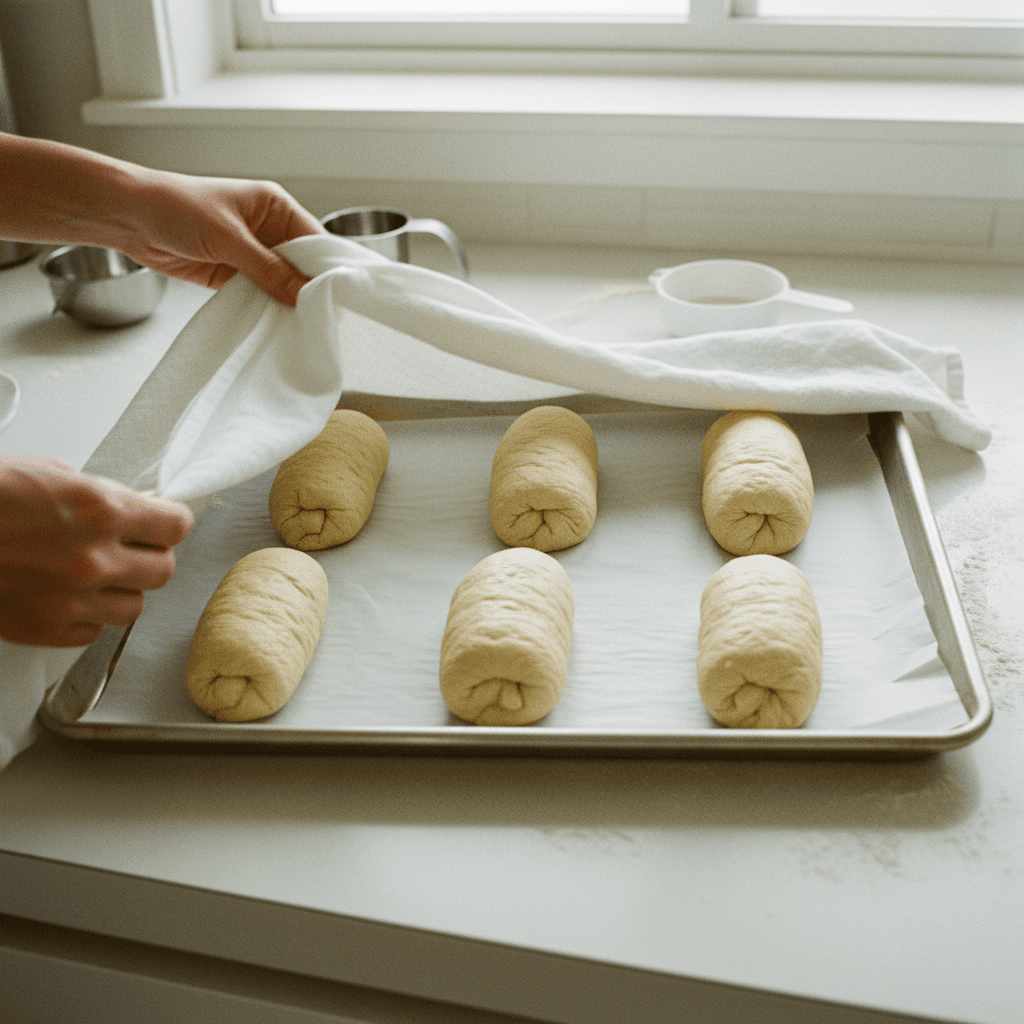
- 9
Preheat your oven to 425°F (220°C). If desired, use a sharp knife or serrated knife to score the tops of each bun with a couple of diagonal cuts. This step is optional but can help with even rising and a rustic appearance.
⏱️ 3 min•🌡️ 425
- 10
Bake the buns in the preheated oven for 10 minutes.
⏱️ 10 min•🌡️ 425
- 11
Rotate the baking sheet 180 degrees and continue to bake for an additional 7-9 minutes, or until the buns are golden brown and sound hollow when tapped on the bottom.
⏱️ 9 min•🌡️ 425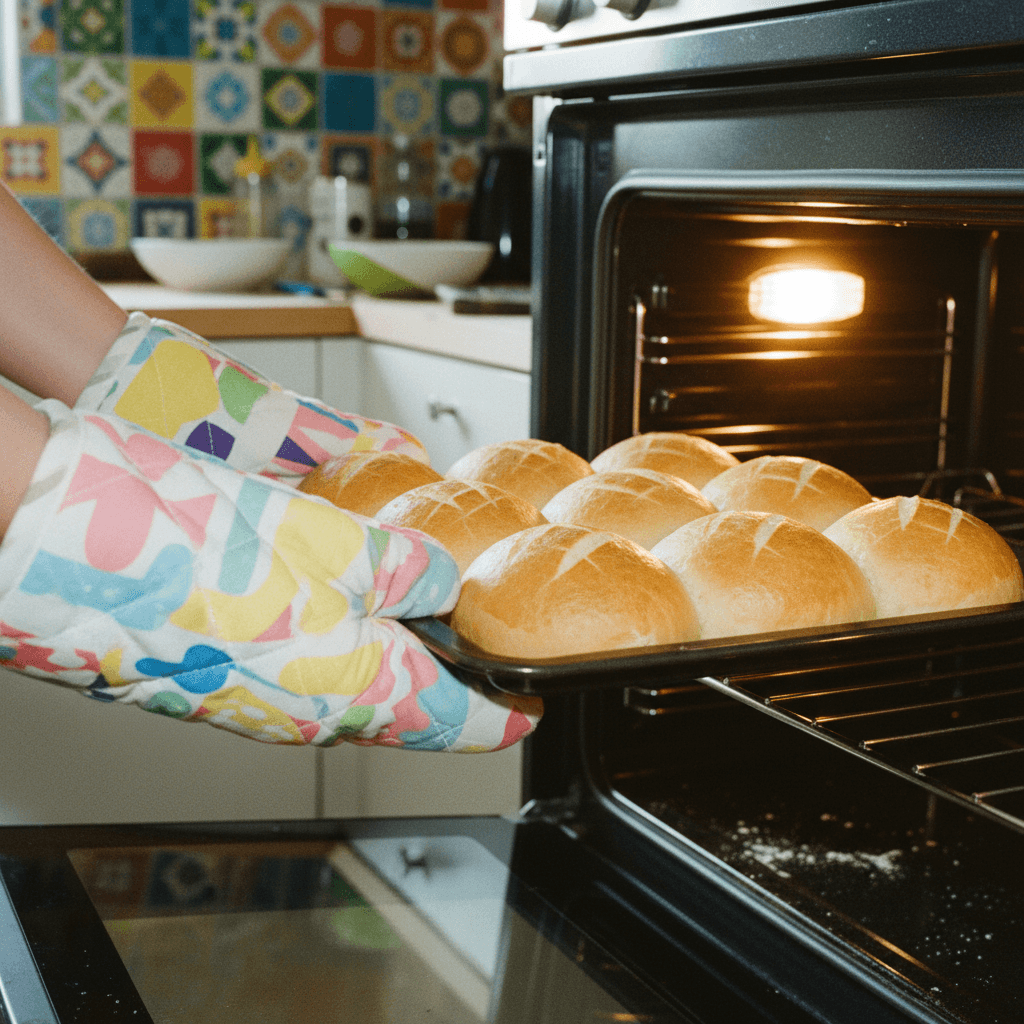
- 12
Remove the buns from the oven. For extra flavor and a soft crust, immediately brush the tops of the hot buns with the melted butter.
⏱️ 1 min
- 13
Transfer the buns to a wire rack and allow them to cool completely before slicing and serving. This prevents them from becoming gummy inside.

Kitchen Tools
Nutrition Facts (per serving)
Sub Buns (Best Ever Sandwich Bread)
For the Sub Buns
- 1/4 cup milk
- 1 1/3 cups warm water
- 1 tablespoon yeast
- 1 tablespoon sugar
- 2 teaspoons salt
- 1 egg
- 1/4 cup butter, softened
- 4 1/4 cups flour
For Finishing
- 1 tablespoon butter, for buttering, melted
Instructions
- 1
In a large bowl, combine the milk, warm water, yeast, and sugar. Stir gently to combine. Let the mixture rest for 10 minutes until it becomes foamy and bubbly, indicating the yeast is active.
⏱️ 10 min - 2
To the activated yeast mixture, add the salt, egg, softened butter, and flour. Mix with a spoon or in a stand mixer with a dough hook until a soft dough forms and all ingredients are incorporated.
⏱️ 5 min - 3
Turn the dough out onto a lightly floured surface and knead for 10 minutes, or until the dough is soft, smooth, and elastic. Alternatively, knead in a stand mixer with a dough hook for 8-10 minutes.
⏱️ 10 min - 4
Place the dough in a lightly oiled bowl, turning once to coat. Cover the bowl with plastic wrap or a clean kitchen towel and let it rise in a warm place for 1 hour, or until doubled in size.
⏱️ 60 min - 5
Gently punch down the risen dough. Turn it out onto a lightly floured surface and divide it into 6 equal portions.
⏱️ 5 min - 6
Take each portion of dough, flatten it slightly, then roll it into a log shape, approximately 8-10 inches long. Pinch and tuck the seams underneath as best as you can to create a smooth top.
⏱️ 5 min - 7
Place the rolled dough logs on a baking sheet lined with parchment paper or lightly greased, ensuring they are about 1 inch apart.
⏱️ 2 min - 8
Cover the baking sheet loosely with plastic wrap or a clean kitchen towel and let the buns rise for an additional 30 minutes in a warm place.
⏱️ 30 min - 9
Preheat your oven to 425°F (220°C). If desired, use a sharp knife or serrated knife to score the tops of each bun with a couple of diagonal cuts. This step is optional but can help with even rising and a rustic appearance.
⏱️ 3 min•🌡️ 425 - 10
Bake the buns in the preheated oven for 10 minutes.
⏱️ 10 min•🌡️ 425 - 11
Rotate the baking sheet 180 degrees and continue to bake for an additional 7-9 minutes, or until the buns are golden brown and sound hollow when tapped on the bottom.
⏱️ 9 min•🌡️ 425 - 12
Remove the buns from the oven. For extra flavor and a soft crust, immediately brush the tops of the hot buns with the melted butter.
⏱️ 1 min - 13
Transfer the buns to a wire rack and allow them to cool completely before slicing and serving. This prevents them from becoming gummy inside.