Pandesal
Pandesal
Ingredients
For the Dry Ingredients
- 480 g all-purpose flour
- 5 g salt
- 15 g milk powder
For Wet 1 (Yeast Mixture)
- 100 g granulated sugar
- 240 ml warm milk, about 43°C
- 6 g instant dry yeast
For Wet 2
- 1 large egg
- 55 g butter, melted
- 15 ml neutral oil
For the Topping
- 20 g breadcrumbs, optional, for coating
Instructions
- 1
Test your yeast: In a small bowl, mix the Wet #1 ingredients together: 100 g granulated sugar, 240 ml warm milk (about 43°C), and 6 g instant dry yeast. Let this mixture sit for 10 minutes. After 10 minutes, bubbles should form on the surface, indicating active yeast. If no bubbles form, the yeast is dead; acquire new yeast and restart this step.
⏱️ 10 min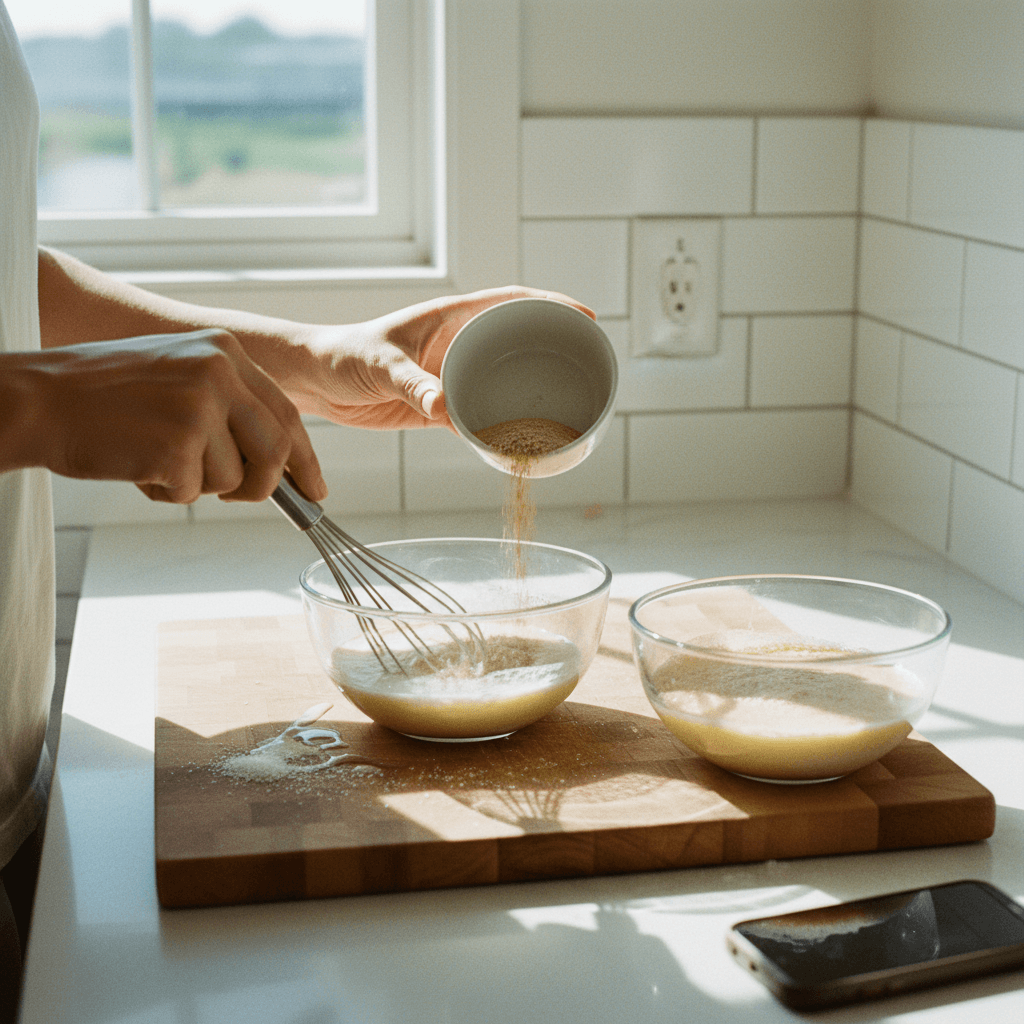
- 2
In a large mixing bowl, combine the dry ingredients: 480 g all-purpose flour, 5 g salt, and 15 g milk powder. Add the activated yeast mixture (Wet 1) and the Wet 2 ingredients (1 large egg, 55 g melted butter, 15 ml neutral oil) to the dry ingredients. Mix until no dry flour is visible and a shaggy dough forms. Let the dough sit for 10 minutes to hydrate the flour and begin gluten development (autolyse).
⏱️ 15 min
- 3
After the 10-minute resting period, transfer the dough to a clean work surface. Knead the dough without adding any additional flour. The dough will be sticky at first, but will become less sticky as you continue to knead. The dough is done kneading once you can form it into a smooth ball. An optional test is the window pane test, where a small piece of dough can be stretched thin enough to see light through it without tearing.
⏱️ 15 min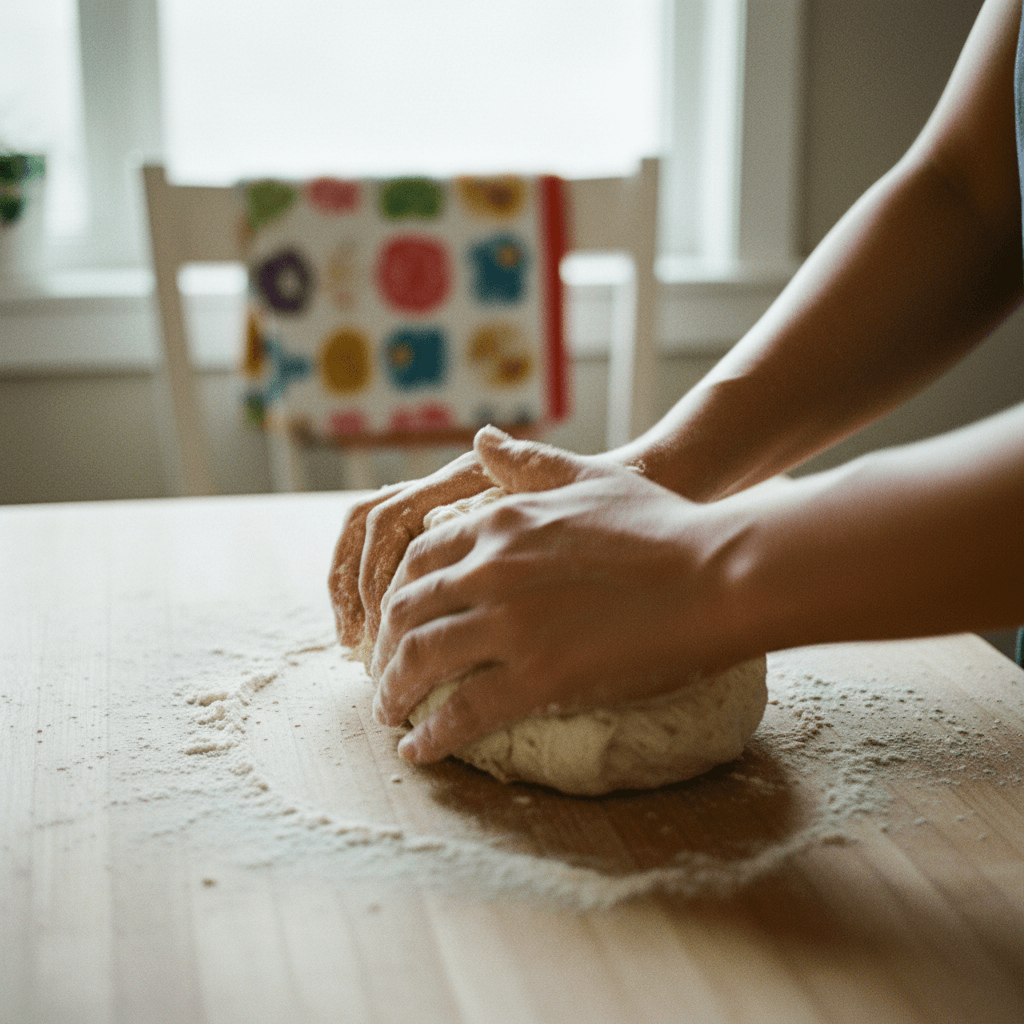
- 4
Lightly oil a clean bowl and place the kneaded dough ball inside, turning it to coat all sides with oil. Cover the bowl with plastic wrap. Place the bowl inside a warm oven for 30-45 minutes to proof, or until the dough has doubled in size. To warm your oven for proofing, turn it on to 350°F / 180°C for 2 minutes, then turn it off.
⏱️ 45 min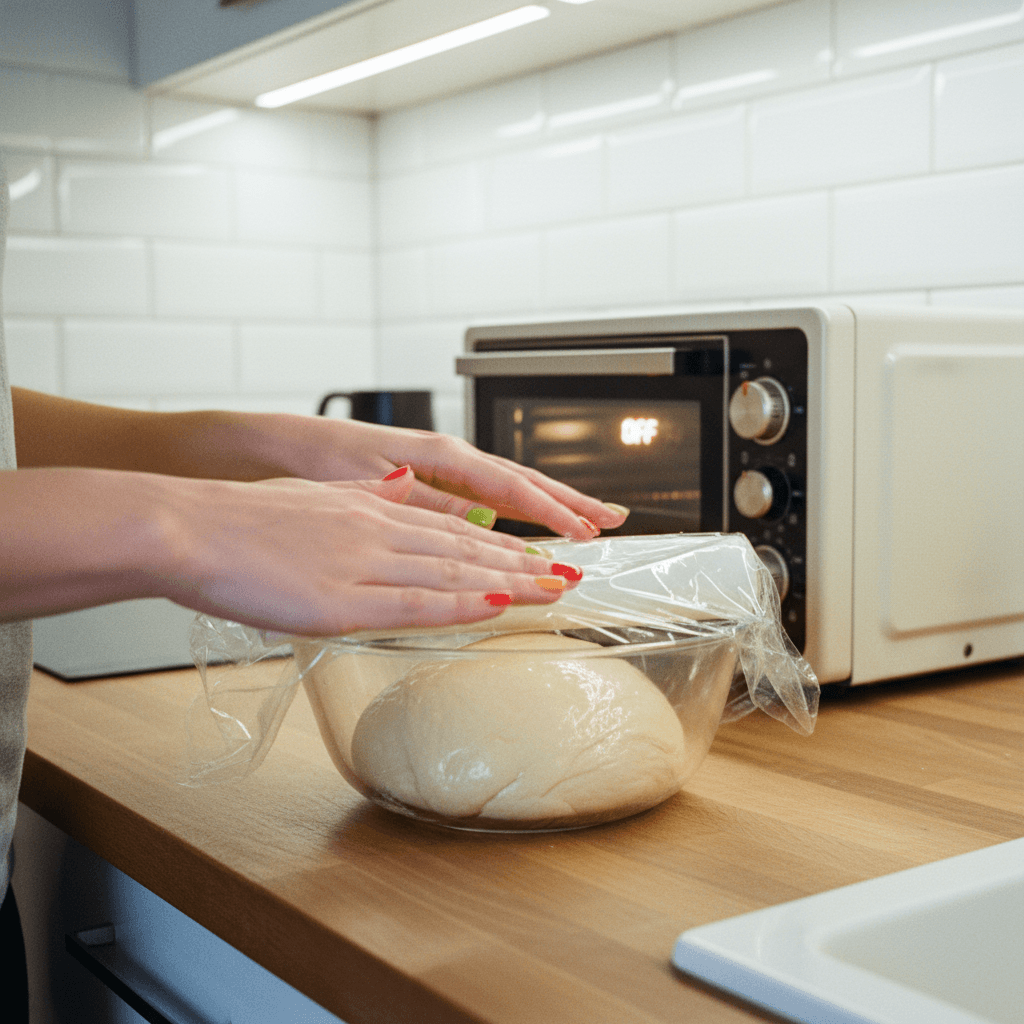
- 5
Once the dough has doubled in size, gently punch it down to remove the air (degas). This step helps to tighten the gluten and makes shaping easier.
⏱️ 2 min
- 6
Transfer the degassed dough to a clean work surface. Portion the dough into 12 equal pieces. Shape each piece of dough either into an oblong shape (traditional) or into a round ball. Prepare the 20 g of breadcrumbs for coating.
⏱️ 8 min
- 7
Roll each shaped dough piece in the breadcrumbs, ensuring it's fully coated. Arrange the coated dough pieces in a 9x13 inch pan lined with parchment paper. Cover the pan with plastic wrap. Proof the dough for a second time for 30-45 minutes in a warm oven (using the same warming method as in Step 4) or until the buns have doubled in size. Crowding the pan can help ensure a softer crust on the sides.
⏱️ 45 min
- 8
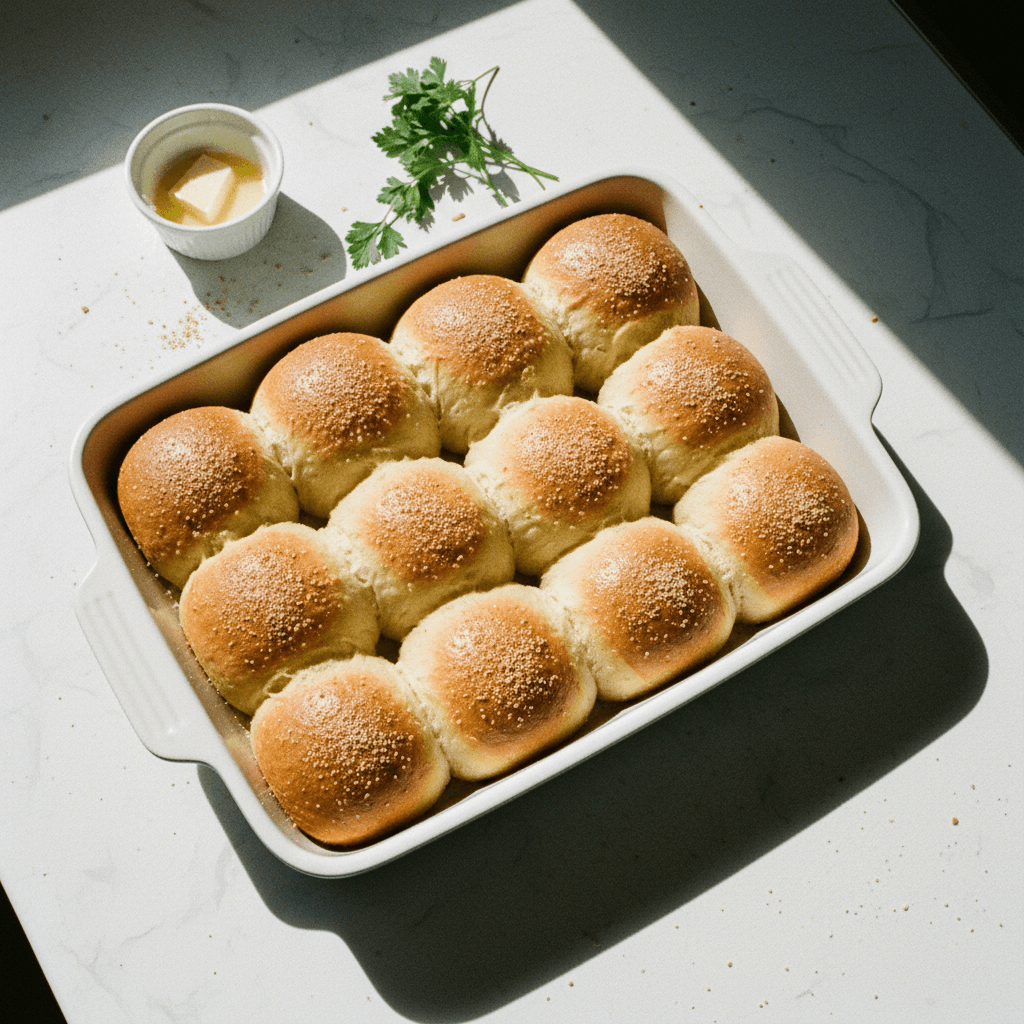
Preheat your oven to 350°F / 180°C. Bake the pandesal for 15-20 minutes, or until the internal temperature reaches 88°C / 190°F. Use a thermometer to ensure they are perfectly cooked.
⏱️ 20 min•🌡️ 180
Kitchen Tools
Nutrition Facts (per serving)
Pandesal
For the Dry Ingredients
- 480 g all-purpose flour
- 5 g salt
- 15 g milk powder
For Wet 1 (Yeast Mixture)
- 100 g granulated sugar
- 240 ml warm milk, about 43°C
- 6 g instant dry yeast
For Wet 2
- 1 large egg
- 55 g butter, melted
- 15 ml neutral oil
For the Topping
- 20 g breadcrumbs, optional, for coating
Instructions
- 1
Test your yeast: In a small bowl, mix the Wet #1 ingredients together: 100 g granulated sugar, 240 ml warm milk (about 43°C), and 6 g instant dry yeast. Let this mixture sit for 10 minutes. After 10 minutes, bubbles should form on the surface, indicating active yeast. If no bubbles form, the yeast is dead; acquire new yeast and restart this step.
⏱️ 10 min - 2
In a large mixing bowl, combine the dry ingredients: 480 g all-purpose flour, 5 g salt, and 15 g milk powder. Add the activated yeast mixture (Wet 1) and the Wet 2 ingredients (1 large egg, 55 g melted butter, 15 ml neutral oil) to the dry ingredients. Mix until no dry flour is visible and a shaggy dough forms. Let the dough sit for 10 minutes to hydrate the flour and begin gluten development (autolyse).
⏱️ 15 min - 3
After the 10-minute resting period, transfer the dough to a clean work surface. Knead the dough without adding any additional flour. The dough will be sticky at first, but will become less sticky as you continue to knead. The dough is done kneading once you can form it into a smooth ball. An optional test is the window pane test, where a small piece of dough can be stretched thin enough to see light through it without tearing.
⏱️ 15 min - 4
Lightly oil a clean bowl and place the kneaded dough ball inside, turning it to coat all sides with oil. Cover the bowl with plastic wrap. Place the bowl inside a warm oven for 30-45 minutes to proof, or until the dough has doubled in size. To warm your oven for proofing, turn it on to 350°F / 180°C for 2 minutes, then turn it off.
⏱️ 45 min - 5
Once the dough has doubled in size, gently punch it down to remove the air (degas). This step helps to tighten the gluten and makes shaping easier.
⏱️ 2 min - 6
Transfer the degassed dough to a clean work surface. Portion the dough into 12 equal pieces. Shape each piece of dough either into an oblong shape (traditional) or into a round ball. Prepare the 20 g of breadcrumbs for coating.
⏱️ 8 min - 7
Roll each shaped dough piece in the breadcrumbs, ensuring it's fully coated. Arrange the coated dough pieces in a 9x13 inch pan lined with parchment paper. Cover the pan with plastic wrap. Proof the dough for a second time for 30-45 minutes in a warm oven (using the same warming method as in Step 4) or until the buns have doubled in size. Crowding the pan can help ensure a softer crust on the sides.
⏱️ 45 min - 8
Preheat your oven to 350°F / 180°C. Bake the pandesal for 15-20 minutes, or until the internal temperature reaches 88°C / 190°F. Use a thermometer to ensure they are perfectly cooked.
⏱️ 20 min•🌡️ 180